Pauper Flicker Tron Deck Tech & Sideboard Guide
.jpg)
I've always felt like some decks—like Golgari Gardens—stick around mostly because the format doesn’t have a natural predator for them. But what happens when the meta shifts and those old predators come back? That’s exactly what’s going on with Flicker Tron. Thanks to some recent unbans, it just got a serious power boost—and today, we are going over each card of the list and talk about its overall game plan, and of course, its sideboard plan, so you can win against the diverse Pauper meta. Let’s dive into it!
Table of Contents
The Deck
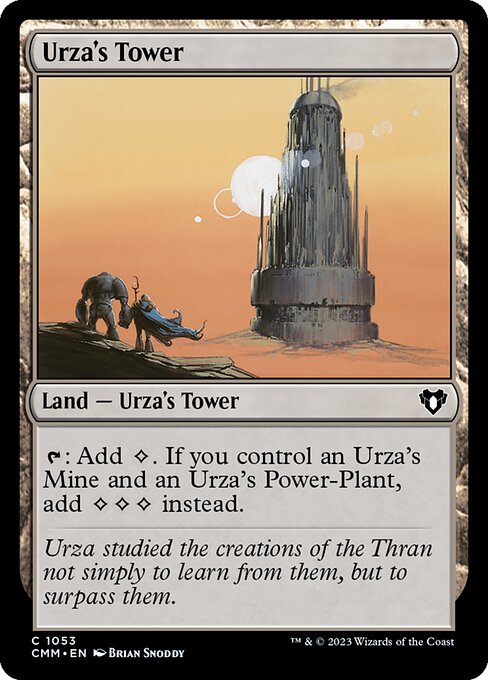
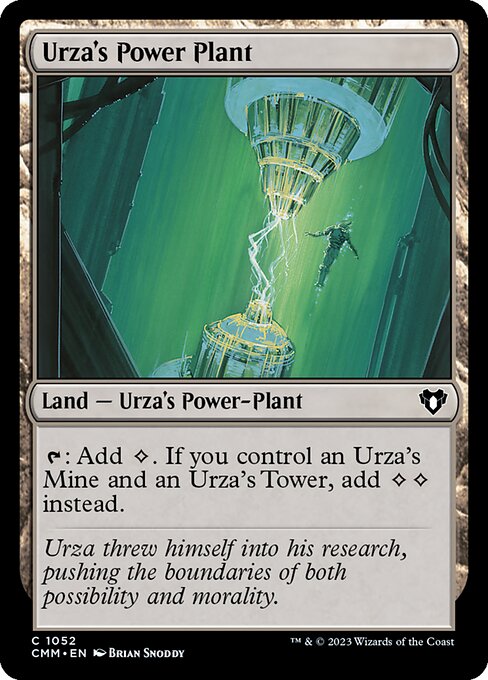
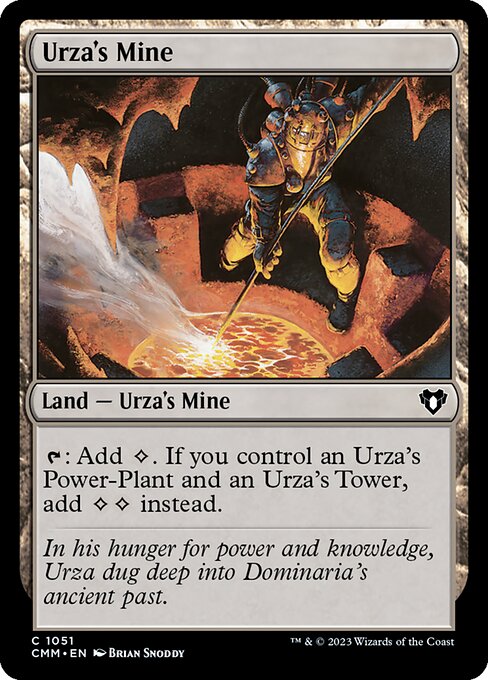


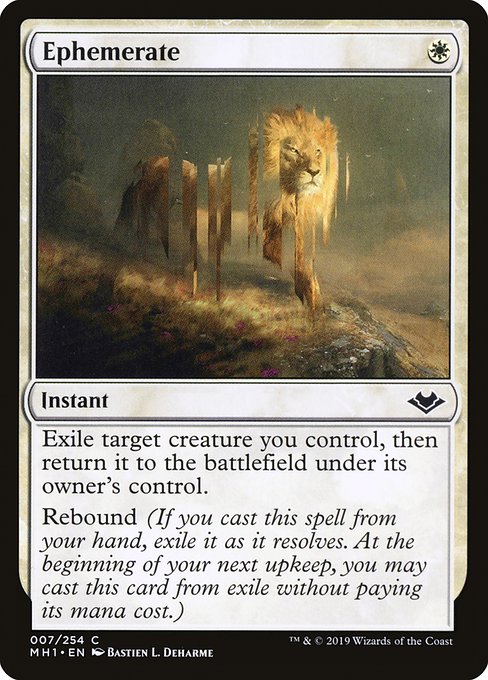


Flicker Tron, also known as [card]Ephemerate[/card] Tron, isn’t your typical aggro or midrange strategy—it’s all about setting up a powerful mana base with the Urza lands and then taking over the game with value and recursion.
[cards]{{Urza's Mine}}{{Urza's Power Plant}}{{Urza's Tower}}[/cards]
Once Tron is online, you can start filtering mana, drawing cards, and locking things down until you stick a threat. Let’s break down the core pieces that make this control engine tick.
The Enablers
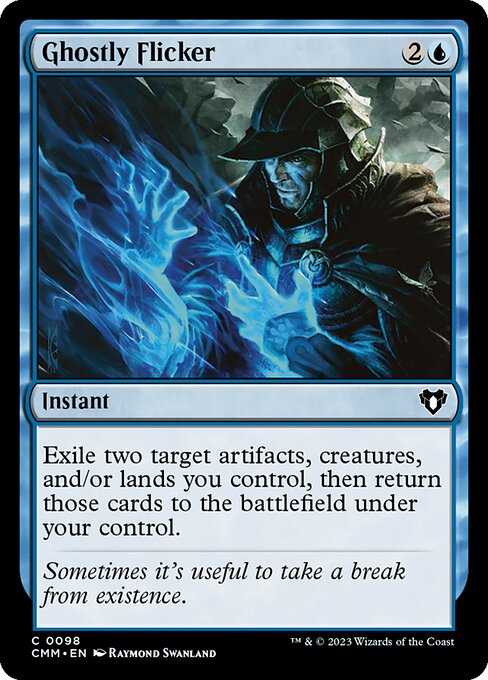
[cards]{{Ephemerate}}{{Ghostly Flicker}}[/cards]
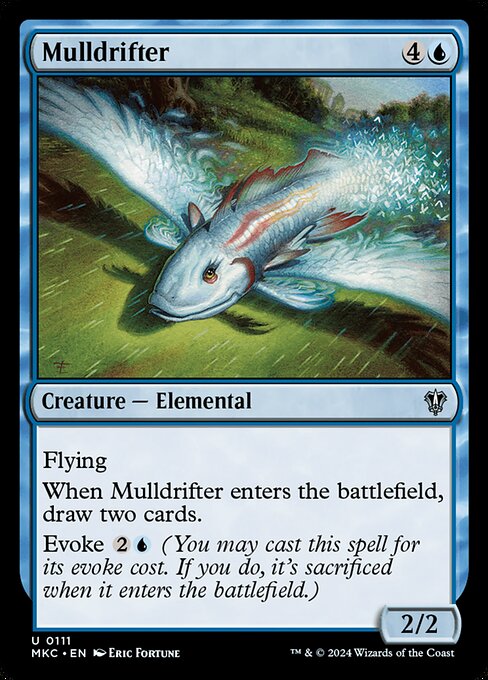
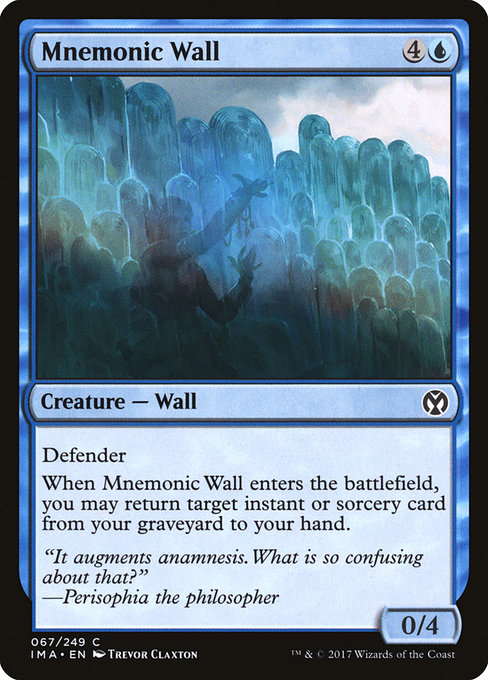
These are the cards that make the whole machine run. [card]Ephemerate[/card] and [card]Ghostly Flicker[/card] are the backbone of the deck’s value engine, blinking creatures like [card]Mulldrifter[/card] and [card]Mnemonic Wall[/card] for cards and recursion.
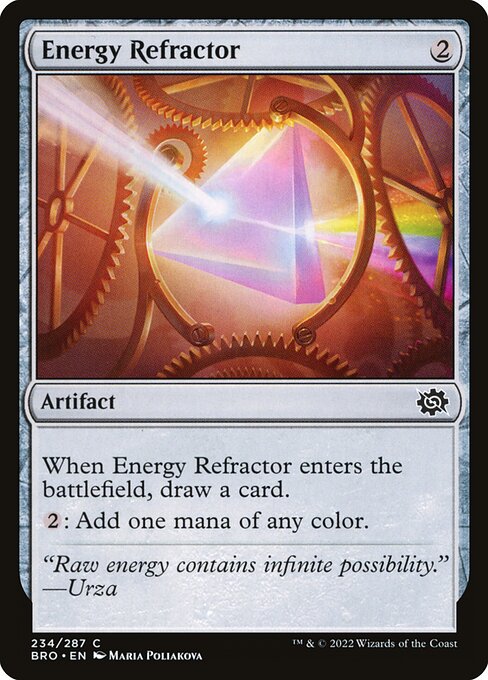
[cards]{{Prophetic Prism}}{{Energy Refractor}}[/cards]
[card]Prophetic Prism[/card] and [card]Energy Refractor[/card] fix your otherwise colorless mana and replace themselves, keeping your card count up.
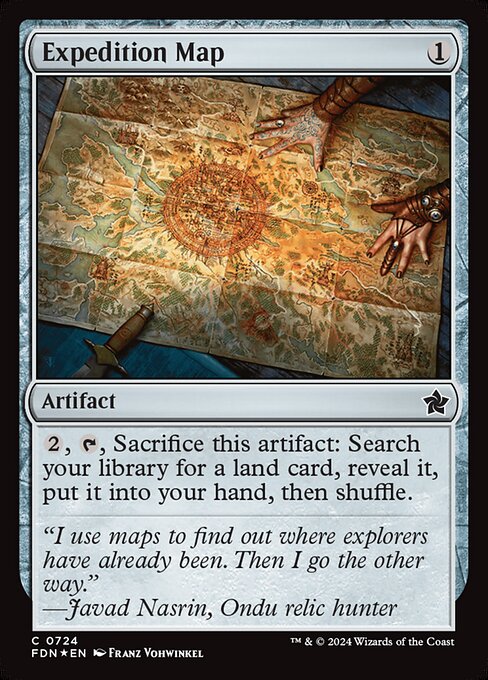
[cards]{{Expedition Map}}{{Crop Rotation}}[/cards]
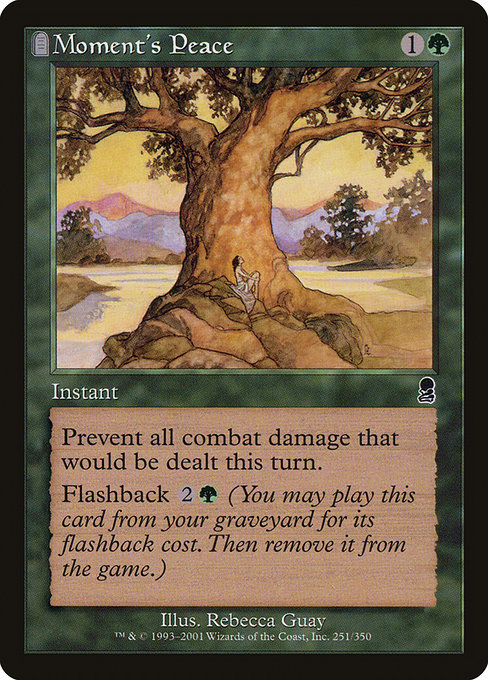
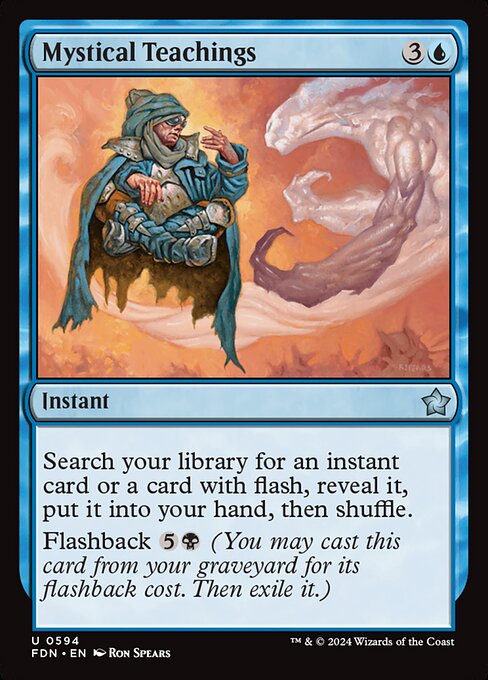
[card]Expedition Map[/card] and [card]Crop Rotation[/card] help you assemble the full set of Urza lands quickly. [card]Mystical Teachings[/card] also slots in here, tutoring key instants like [card]Ephemerate[/card] or [card]Moment's Peace[/card] as needed.
The Payoffs
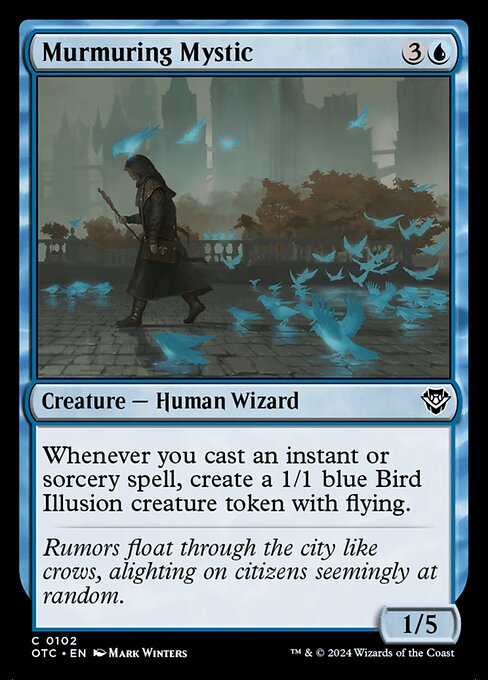
Your main reward for assembling Tron and stabilizing the game comes from cards like [card]Murmuring Mystic[/card], which turns every instant and sorcery into a flying army. It’s your go-to win condition in most matches.
[cards]{{Mulldrifter}}{{Mnemonic Wall}}[/cards]
[card]Mulldrifter[/card] also belongs here—it’s not just a value engine, it’s an evasive threat once the board is stable. And don’t overlook [card]Mnemonic Wall[/card]; while not a win condition itself, it recurs your best spells repeatedly, making it a value payoff that lets you grind through anything.
Interaction
This deck doesn’t just durdle—it interacts too.
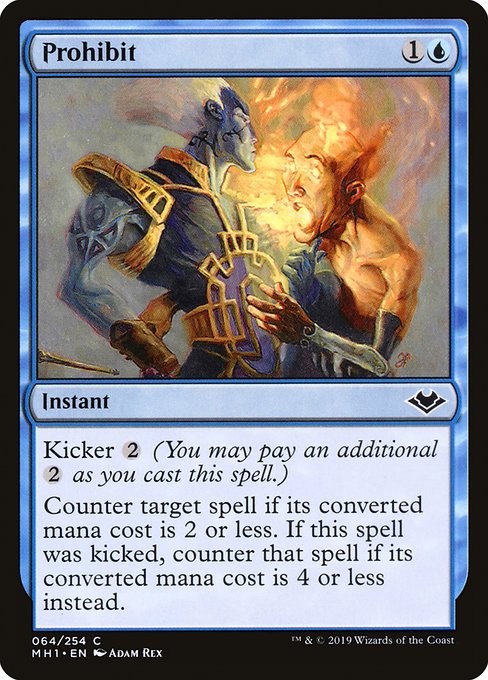
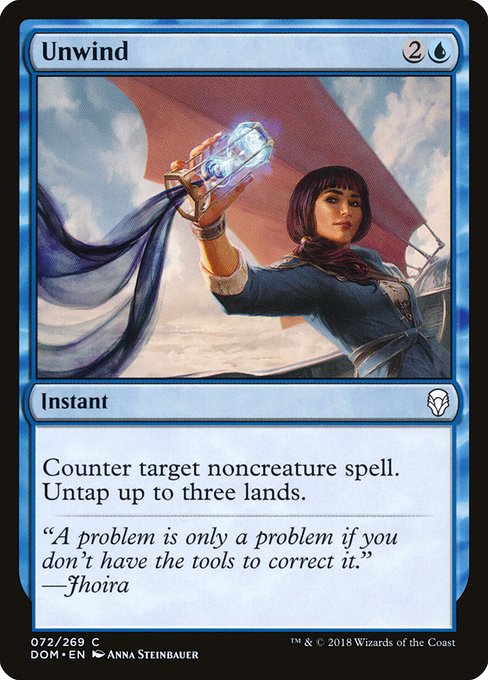
[cards]{{Prohibit}}{{Unwind}}[/cards]
[card]Prohibit[/card] offers a flexible counterspell that scales up with kicker. [card]Unwind[/card] is great for tapping out and still holding up protection, often paying for itself and more.
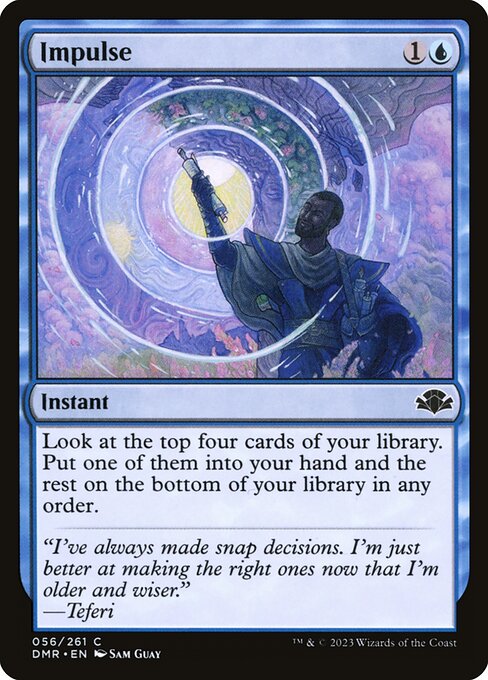
[cards]{{Mystical Teachings}}{{Impulse}}{{Focus the Mind}}[/cards]
[card]Mystical Teachings[/card] deserves a second mention here because of its flashback, helping you find interaction at instant speed. [card]Impulse[/card] and [card]Focus the Mind[/card] help dig for those answers right when you need them.
Removal
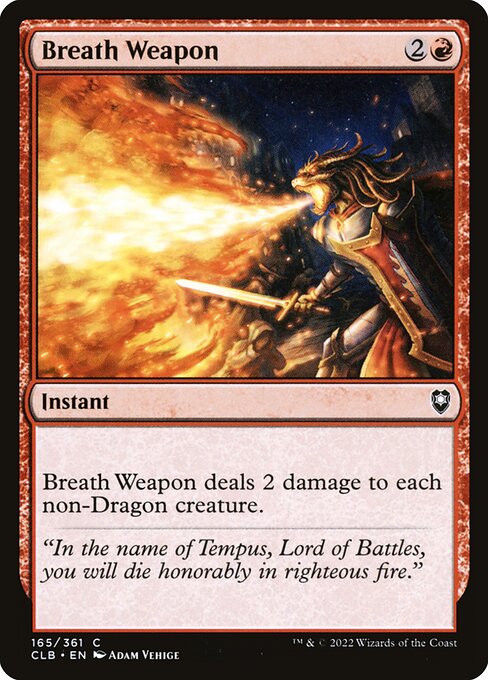
[cards]{{Breath Weapon}}[/cards]
Red splash gives you [card]Breath Weapon[/card], a symmetrical sweeper that clears away most early aggression and token strategies, leaving your Mystic's flyers untouched. [card]Heritage Reclamation[/card] brings flexibility, allowing you to destroy artifacts, enchantments, or even snipe a key graveyard piece while cantripping. [card]Bojuka Bog[/card] also acts as graveyard hate, exiling an entire graveyard the turn it enters.
Win Condition
[cards]{{Murmuring Mystic}}[/cards]
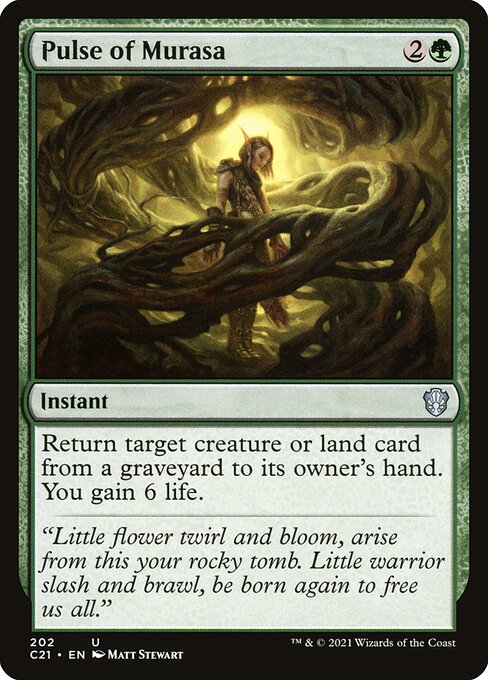
At the end of the day, [card]Murmuring Mystic[/card] is the card that actually wins you games. Each flicker or dig spell becomes a 1/1 flyer, and with enough time, those birds add up quickly. Even if Mystic dies, [card]Pulse of Murasa[/card] brings it back while padding your life total, buying you even more time. This loop of blinking, recurring, and protecting Mystic or [card]Mulldrifter[/card] is what eventually overwhelms the opponent, whether through sheer air superiority or just raw card advantage.
Optimizing Your Pauper Flicker Tron Sideboard
Sideboarding in Pauper is all about targeting specific matchups—since the format is so diverse, having the right tools for the right opponent can make all the difference. Let’s take a look at which options this deck runs.
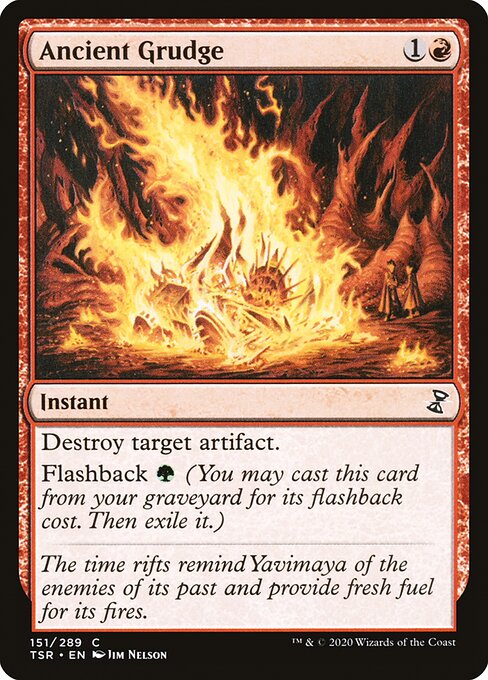
[cards]{{Ancient Grudge}}[/cards]
To deal with problematic artifacts, [card]Ancient Grudge[/card] is your go-to. It's cheap, hits any artifact, and thanks to flashback, you get to do it again for just a green mana. That kind of repeatable removal is huge when facing decks like Affinity or Tron mirrors that rely on artifact-based ramp and card draw.
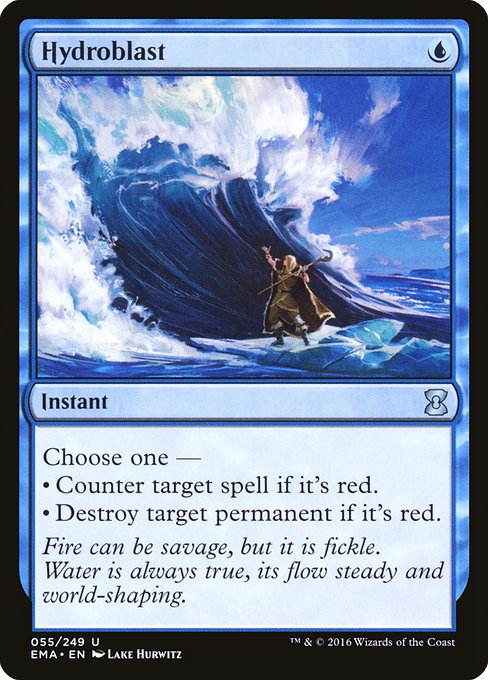
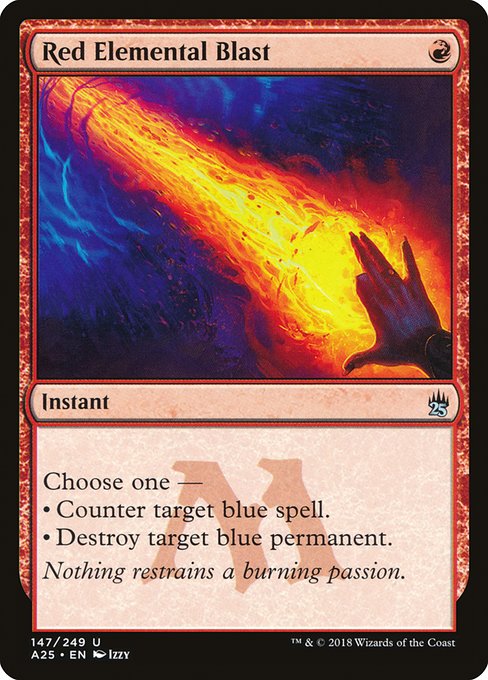
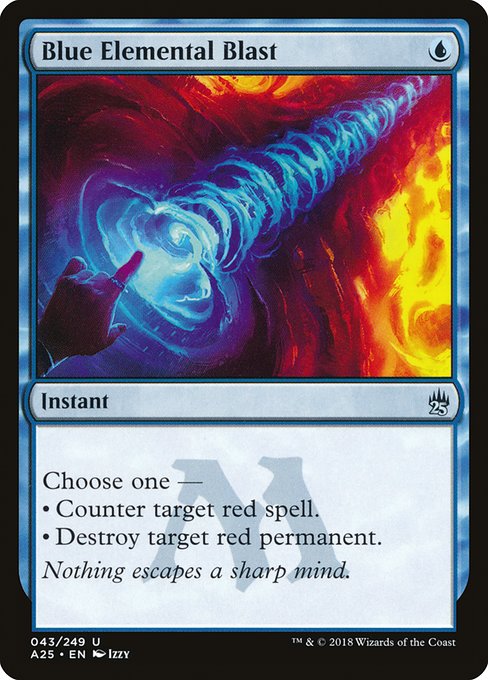
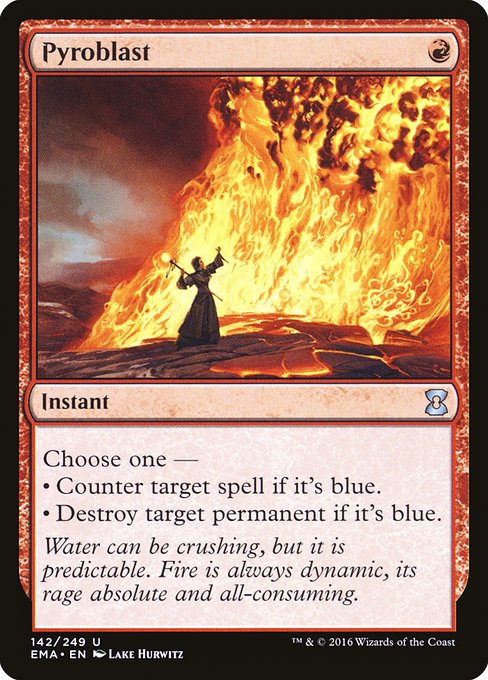
[cards]{{Hydroblast}}{{Blue Elemental Blast}}{{Pyroblast}}{{Red Elemental Blast}}[/cards]
When you're up against red or blue-heavy decks, you’ve got some of the best color-specific answers in the format. [card]Hydroblast[/card], [card]Blue Elemental Blast[/card], [card]Red Elemental Blast[/card], and [card]Pyroblast[/card] all offer efficient one-mana plays that either counter spells or remove key permanents.
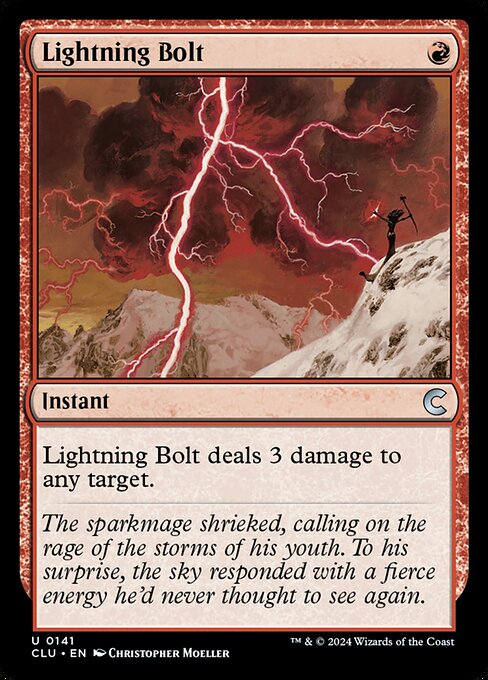
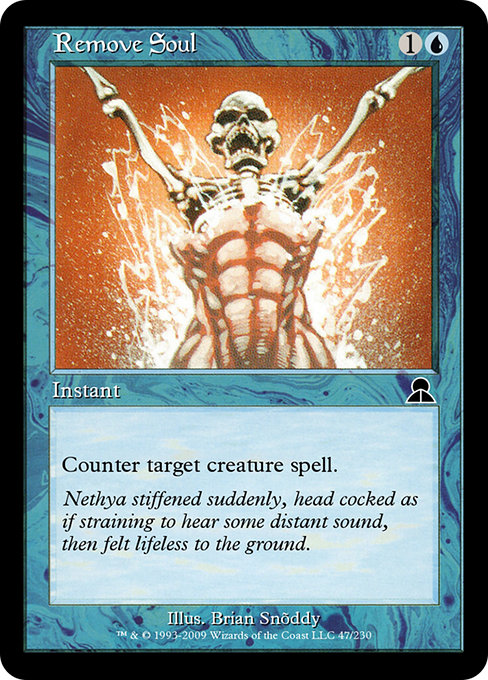
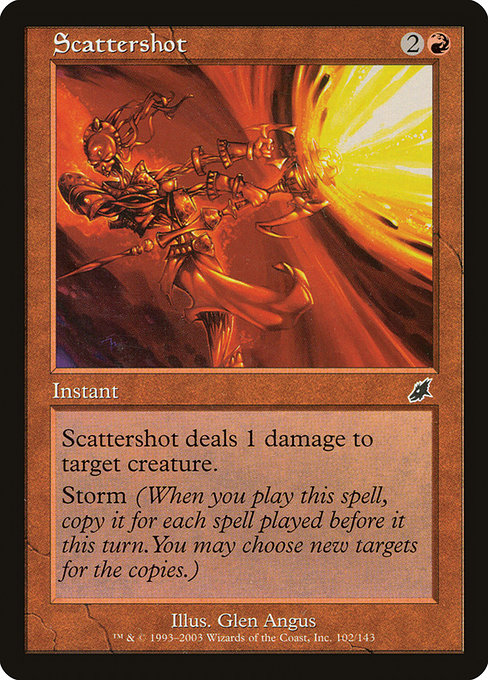
[cards]{{Lightning Bolt}}{{Scattershot}}{{Remove Soul}}[/cards]
For handling creatures, [card]Lightning Bolt[/card] is as clean and classic as it gets—three damage to anything, always relevant. [card]Scattershot[/card] is great when opponents are trying to swarm you, since Storm lets you spread damage across multiple targets in one go. [card]Remove Soul[/card] is another clean answer, countering creatures before they even hit the board, which is great against midrange threats and cascade creatures.
[cards]{{Pulse of Murasa}}[/cards]
[card]Pulse of Murasa[/card] pulls double duty. It lets you bring back key creatures like [card]Mulldrifter[/card] or [card]Murmuring Mystic[/card], and it gains you six life in the process—an amazing tempo swing, especially against aggressive decks that are trying to burn you out.
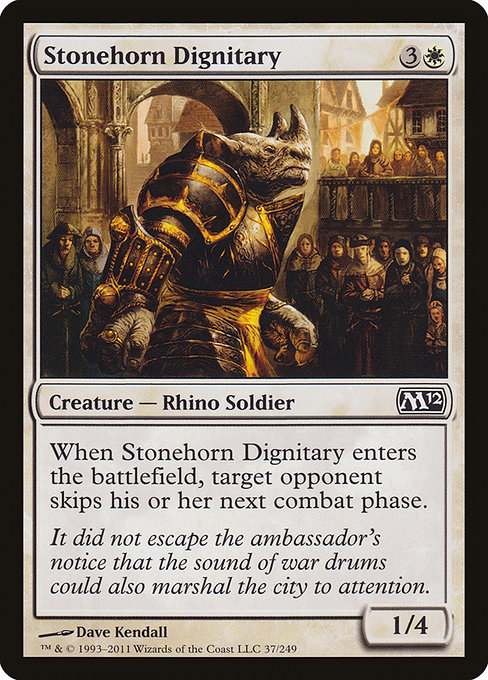
[cards]{{Stonehorn Dignitary}}[/cards]
One of the most frustrating cards for aggro players to face is [card]Stonehorn Dignitary[/card]. When it hits the battlefield, your opponent loses their next combat phase. And when you pair that with flicker effects, it turns into a soft lock that can buy you several turns in a row, letting you set up your win condition in peace.
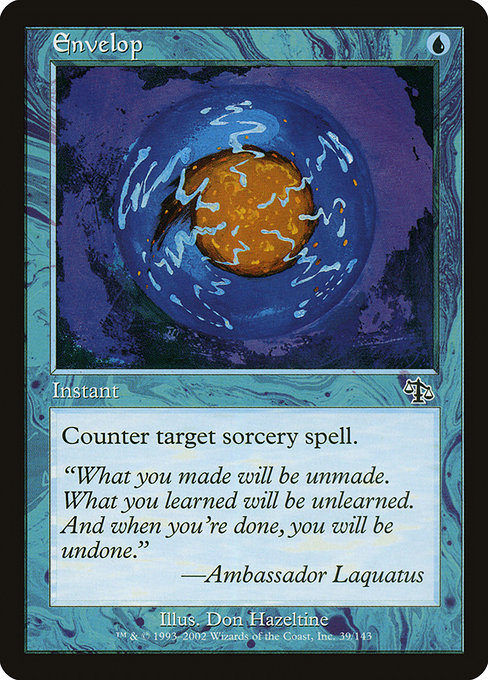
[cards]{{Envelop}}[/cards]
Rounding things out, you’ve got a few flexible disruption pieces. [card]Envelop[/card] might seem narrow, but it's perfect against decks relying on powerful sorceries like [card]Winding Way[/card] or [card]Lead the Stampede[/card].
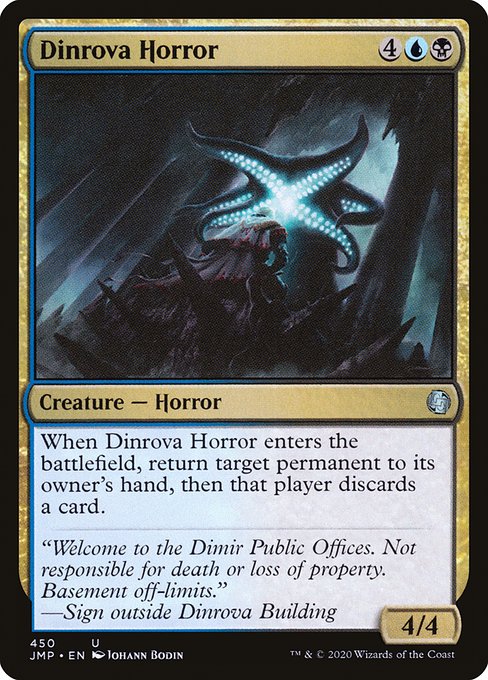
[cards]{{Dinrova Horror}}[/cards]
Finally, there's [card]Dinrova Horror[/card], a six-mana powerhouse that bounces any permanent and forces a discard. When you start blinking this, it can completely wreck your opponent’s board and hand, making it a brutal closer in some midrange and control matchups.
Tips and Tricks for Playing Pauper Flicker Tron
Don’t be shy about using the London Mulligan aggressively—this deck really wants to hit all three Tron lands early. It’s totally fine to mulligan hard until you find them, or at least two plus a way to fetch the third like [card]Crop Rotation[/card] or [card]Expedition Map[/card].
If your opponent tries to blow up a land with something like [card]Cleansing Wildfire[/card], remember you can respond at instant speed with [card]Crop Rotation[/card] to save your mana base and grab whatever land you need.
The core loop of this deck is all about value flickering. A great line is using [card]Ghostly Flicker[/card] on [card]Mnemonic Wall[/card] and something like [card]Prophetic Prism[/card]. That way, you get the flicker spell back to hand and draw a card in the process.
If you target two [card]Mnemonic Wall[/card]s with [card]Ghostly Flicker[/card], you can return the flicker itself plus another instant or sorcery from your graveyard—this interaction is the heart of the deck and what keeps the engine running.
Be extra careful with exile-based removal. Losing your [card]Murmuring Mystic[/card] to something like [card]Journey to Nowhere[/card] or [card]Unmake[/card] can be devastating, and it’s incredibly hard to win once that piece is gone. Protect it whenever you can.
Flicker Tron Pauper Sideboard Guide
Mono Red Aggro
IN: +2 [card]Hydroblast[/card], +1 [card]Lightning Bolt[/card], +1 [card]Pulse of Murasa[/card], +1 [card]Blue Elemental Blast[/card]
OUT: -1 [card]Energy Refractor[/card], -1 [card]Unwind[/card], -1 [card]Heritage Reclamation[/card], -1 [card]Ghostly Flicker[/card], -1 [card]Focus the Mind[/card]
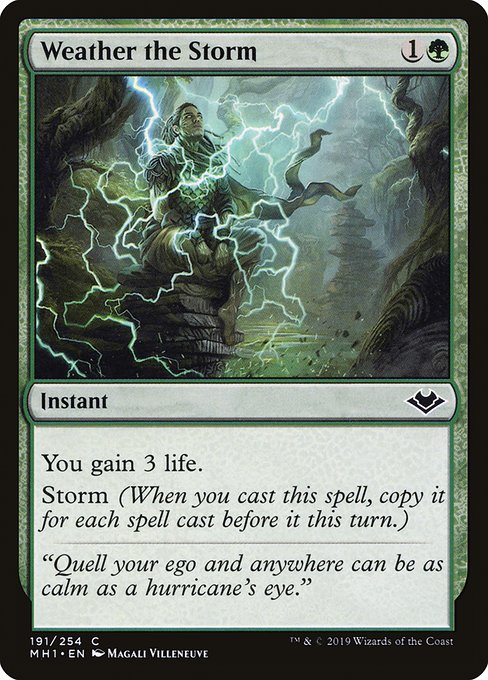
For Mono-Red Burn, it’s all about survival. [card]Pulse of Murasa[/card] is a total beating, gaining you six life and recurring a blocker or land—huge swing. [card]Hydroblast[/card] and [card]Blue Elemental Blast[/card] are backbreakers in this matchup, answering burn spells or early threats like [card]Thermo-Alchemist[/card]. [card]Lightning Bolt[/card] is useful to kill off their creatures as well, and since you already run a [card]Weather the Storm[/card] maindeck, you should be good..
Grixis Affinity
IN: +1 [card]Dinrova Horror[/card], +1 [card]Ancient Grudge[/card], +2 [card]Pyroblast[/card]
OUT: -1 [card]Breath Weapon[/card], -1 [card]Moment's Peace[/card], -2 [card]Energy Refractor[/card]
Against Grixis Affinity, you’ll want answers that can shut down their fast-paced, artifact-fueled engine. Side in [card]Ancient Grudge[/card] as a reliable artifact removal, and consider [card]Dinrova Horror[/card] as another great tool here—its ability to bounce a permanent and force a discard can really disrupt the affinity game plan. For added protection against blue spells, they might run, don’t hesitate to use [card]Red Elemental Blast[/card] when needed.
Dimir Faeries
IN: +1 [card]Remove Soul[/card], +2 [card]Pyroblast[/card], +1 [card]Red Elemental Blast [/card], +1 [card]Lightning Bolt[/card], +1 [card]Scattershot[/card]
OUT: -1 [card]Focus the Mind[/card], -1 [card]Unwind[/card], -1 [card]Heritage Reclamation[/card], -1 [card]Ghostly Flicker[/card], -1 [card]Energy Refractor[/card], -1 [card]Prohibit[/card]
For Dimir Faeries, the key is to stop their swarm of evasive creatures before they can build up too much pressure. Bringing in [card]Remove Soul[/card] helps counter their creature spells outright, ensuring you keep the board clear. [card]Pyroblast[/card] and [card]Red Elemental Blast [/card] also pull double duty here, as well as [card]Lightning Bolt[/card] and [card]Scattershot[/card] for dealing with their early threats.
Dimir Terror
IN: +2 [card]Pyroblast[/card], +1 [card]Red Elemental Blast [/card]
OUT: -1 [card]Unwind[/card], -1 [card]Heritage Reclamation[/card], -1 [card]Ghostly Flicker[/card]
Against Dimir Terror, you definitely want to bring in [card]Pyroblast[/card] and [card]Red Elemental Blast[/card]—they’re pretty much non-negotiable in that matchup. You’re not trying to race them out of the game; instead, the key is to slow them down. That’s where [card]Bojuka Bog[/card] really shines, nuking their graveyard to make their threats way harder to cast. And thanks to [card]Crop Rotation[/card] and [card]Expedition Map[/card], you’ve got several ways to find it. You can even sacrifice the Bog later with another [card]Crop Rotation[/card], then bring it back with [card]Pulse of Murasa[/card] to use it again. On top of all that, [card]Stonehorn Dignitary[/card] can buy you time by skipping their combat step—super useful when you're trying to stabilize.
Wrap Up
Thanks for reading!
If you’d like to support the blog and my YouTube channel, you can do so for just $1 a month on Ko-fi or through YouTube memberships. That gets you access to our Discord community and behind-the-scenes content — and it helps me keep creating more Pauper content for you all.
My Favorite Pauper Setup
Here are some of my favorite MTG products for Pauper—stuff I’ve tried, loved, and think you'll find super useful too.


The Amazon links use affiliate codes that help support future content if you grab something.
.jpg)

.jpg)
.jpg)
.png)
.png)
.webp)
.webp)
.jpg)
Comments
Post a Comment