Aang, at the Crossroads Blink Engine Deck — Bend the Boardstate in Historic Brawl

One of the new commanders from Avatar: The Last Airbender, quickly rising in popularity in Historic Brawl, is Aang, at the Crossroads. Today, I’ve got not one, but two different builds you can explore and borrow ideas from. Intrigued? Let’s dive in!
Table of Contents
Aang, at the Crossroads Historic Brawl Deck Overview


This deck focuses on using blink effects and enter-the-battlefield triggers to keep generating value as Aang shifts between forms. The early turns are dedicated to ramping and getting your commander onto the battlefield as quickly as possible. From there, repeated blink effects let your creatures draw cards, disrupt opponents, and build a stronger board every turn. You play proactively by developing threats, but you always have interaction on standby to keep your engine safe and stay in control of the game.
Historic Brawl Commander: Aang, at the Crossroads
[cards]{{Aang, at the Crossroads}}[/cards]
[card]Aang, at the Crossroads[/card] gives you a powerful setup the moment it arrives, grabbing a creature from the top of your deck.
[cards]{{Aang, Destined Savior}}[/cards]
Once transformed into [card]Aang, Destined Savior[/card], it turns lands into vigilant attackers through earthbending.
Best Creatures for Aang in Historic Brawl
[cards]{{Wall of Omens}} {{Eternal Witness}} {{Appa, Steadfast Guardian}}[/cards]
The heart of the strategy is value engines like [card]Wall of Omens[/card] and [card]Eternal Witness[/card], plus utility legends like [card]Appa, Steadfast Guardian[/card], who rewards casting things from exile.
[cards]{{Mother of Runes}} {{Giver of Runes}} {{Quantum Riddler}} {{Thassa, Deep-Dwelling}}[/cards]
Protectors such as [card]Mother of Runes[/card] and [card]Giver of Runes[/card] keep your threats alive, while [card]Quantum Riddler[/card] and [card]Thassa, Deep-Dwelling[/card] ensure you out-draw opponents as the game goes late.
Aang Historic Brawl Payoffs: What You’re Working Toward
Blinking becomes explosive when your payoffs hit the field.
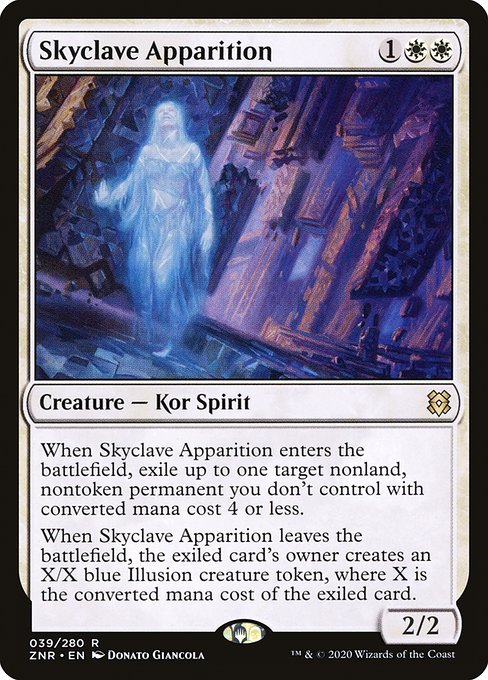
[cards]{{Skyclave Apparition}} {{Venser, Shaper Savant}}[/cards]
[card]Skyclave Apparition[/card] and [card]Venser, Shaper Savant[/card] remove or bounce threats again and again.
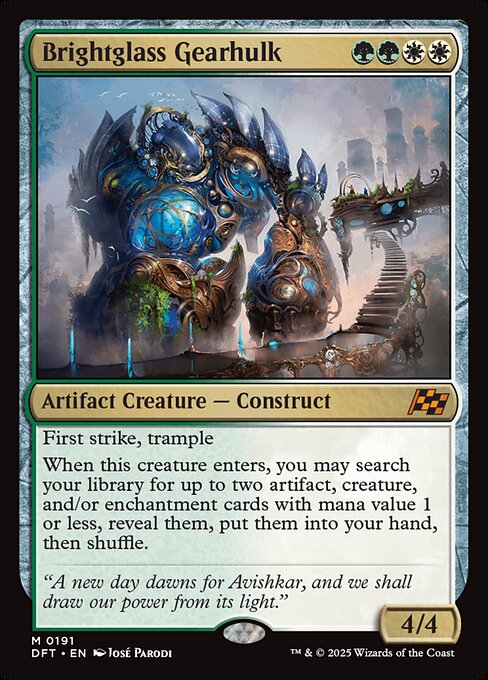
[cards]{{Mockingbird}} {{Phantasmal Image}} {{Brightglass Gearhulk}} {{Voice of Victory}}[/cards]
[card]Mockingbird[/card] and [card]Phantasmal Image[/card] copy your best ETB creatures. [card]Brightglass Gearhulk[/card] and [card]Voice of Victory[/card] provide strong board presence and pressure, turning your smooth setup into real finishing power.
Blink and Tutors: The Core Engine of Historic Brawl Aang
These are the cards that keep the engine humming.
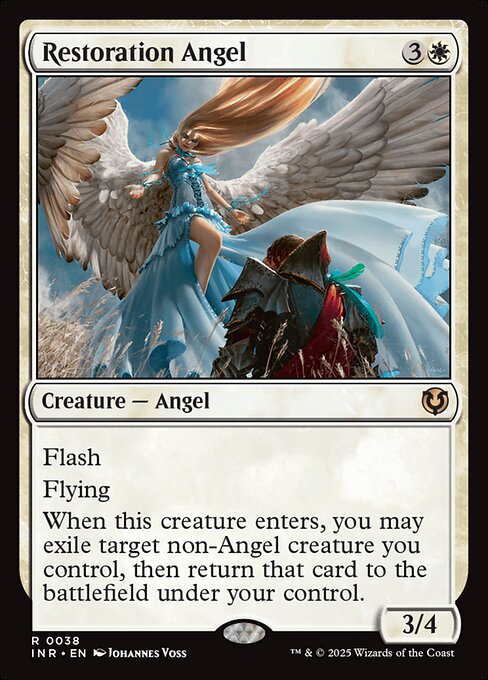
[cards]{{Cloudshift}} {{Flickerwisp}} {{Restoration Angel}}[/cards]
Blink tools like [card]Cloudshift[/card], [card]Flickerwisp[/card], and [card]Restoration Angel[/card] reset ETB triggers.
[cards]{{Worldly Tutor}} {{Enlightened Tutor}} {{Green Sun's Zenith}} {{Birthing Ritual}}[/cards]
Tutors such as [card]Worldly Tutor[/card], [card]Enlightened Tutor[/card], [card]Green Sun’s Zenith[/card], and [card]Birthing Ritual[/card] make sure you always have the right creature.
[cards]{{Lotus Cobra}} {{Utopia Sprawl}}[/cards]
Ramp from [card]Lotus Cobra[/card] and [card]Utopia Sprawl[/card] helps you deploy threats ahead of curve.
Historic Brawl Interaction for Aang, at the Crossroads
This deck is never without answers.
[cards]{{Force Spike}} {{Mana Tithe}} {{Wash Away}} {{Reprieve}}[/cards]
Soft permission like [card]Force Spike[/card], [card]Mana Tithe[/card], [card]Wash Away[/card], and [card]Reprieve[/card] punished tapped-out opponents.
[cards]{{Nightclub Bouncer}} {{Venser, Shaper Savant}}[/cards]
Meanwhile cards like [card]Nightclub Bouncer[/card] and [card]Venser, Shaper Savant[/card] provide creature-based interaction you can blink and repeat. You disrupt just enough to keep your board safe and your plan online.
Reusable Removal for Aang Blink Strategies
The removal package is efficient and reusable.
[cards]{{Solitude}} {{Get Lost}} {{Swords to Plowshares}} {{Witch Enchanter}}[/cards]
[card]Solitude[/card] is incredible both early via evoke or repeated through blink. [card]Get Lost[/card] and [card]Swords to Plowshares[/card] take out almost any creature, while [card]Witch Enchanter[/card] handles artifacts and enchantments. Because so many of these are creatures, they fuel your synergy every time they enter the battlefield.
Optimized Manabase for Aang in Historic Brawl
Your triple-color land suite keeps everything smooth.
[cards]{{Temple Garden}} {{Breeding Pool}} {{Flooded Strand}} {{Windswept Heath}}[/cards]
Shocklands like [card]Temple Garden[/card] and [card]Breeding Pool[/card], plus fetches such as [card]Flooded Strand[/card] and [card]Windswept Heath[/card], ensure all three colors are online early.
[cards]{{Otawara, Soaring City}} {{Eiganjo, Seat of the Empire}} {{Yavimaya, Cradle of Growth}}[/cards]
Legendary utility lands like [card]Otawara, Soaring City[/card] and [card]Eiganjo, Seat of the Empire[/card] double as interaction. [card]Yavimaya, Cradle of Growth[/card] makes land-creature synergies even more consistent with Aang.
How to Play Aang, at the Crossroads in Historic Brawl: Gameplan & Strategy
Your early game is focused on setting up — ramping with cards like [card]Llanowar Elves[/card] or [card]Delighted Halfling[/card] while deploying Aang as soon as possible.
Once Aang enters play, the key is to start generating value every turn by either copying or blinking [card]Aang, at the Crossroads[/card] to keep finding more creatures and amassing incremental board presence.
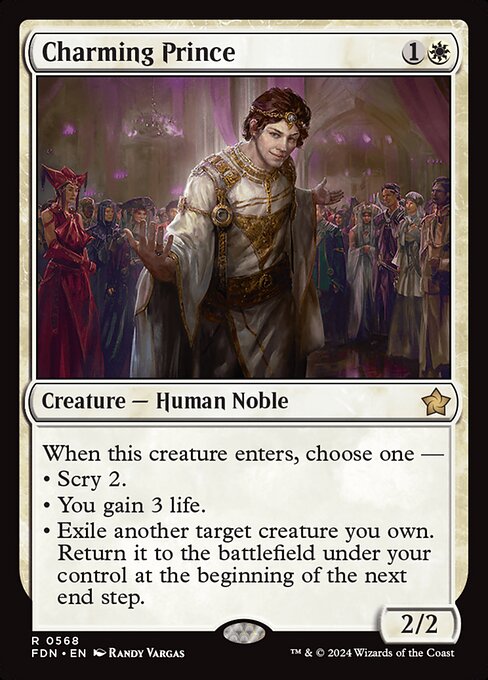
Mid-game is where this deck shines: disruption like [card]Remand[/card] and repeatable ETB triggers from cards such as [card]Charming Prince[/card] and [card]Restoration Angel[/card] help you stay ahead without overcommitting.
Your main goal is to get [card]Thassa, Deep-Dwelling[/card] onto the battlefield, because once Thassa is online, you gain access to a reliable, turn-after-turn blink engine for Aang and all your other creatures. That means more tutors, more removal, and more cards returning from the graveyard with [card]Eternal Witness[/card]. Eventually, multiple flyers — including [card]Appa, Steadfast Guardian[/card] — apply pressure while your evolving board makes it impossible for opponents to catch up.
This deck doesn’t rely on a single “I win” card. Instead, victories come from the compounded effects of value — constantly drawing cards, flickering threats, recycling removal, and stacking advantages until your opponents simply can’t keep pace. You win by being the deck that always has more gas in the tank.
Aang Combos and Synergies in Historic Brawl
There are plenty of fun tricks and combos to abuse in this version of the deck.
[cards]{{Oracle of the Alpha}} {{Mystical Tutor}} {{Time Walk}}[/cards]
Once [card]Oracle of the Alpha[/card] has resolved, your tutors — especially [card]Mystical Tutor[/card] — become extremely powerful because you can grab one of the Power Nine cards like [card]Time Walk[/card] and set up a two-mana extra turn spell. That alone can swing a game hard in your favor.
[cards]{{Quantum Riddler}} {{Solitude}} {{Cloudshift}} {{Ephemerate}}[/cards]
Scam-style plays are also available, letting you “cheat” high-impact cards such as [card]Quantum Riddler[/card] or [card]Solitude[/card] onto the field for free using [card]Cloudshift[/card] or [card]Ephemerate[/card]. Because these creatures have strong ETB abilities, just blinking them once can feel like a full spell’s worth of value — sometimes even better.
[cards]{{Brightglass Gearhulk}} {{Black Lotus}}[/cards]
Another cool line comes from [card]Brightglass Gearhulk[/card]. After Oracle shuffles the Power Nine into your deck, Gearhulk can now search up incredibly powerful zero-mana artifacts like [card]Black Lotus[/card] or one of the Mox, giving you more explosive turns.
[cards]{{Airbender Ascension}} {{Enlightened Tutor}}[/cards]
Meanwhile, [card]Airbender Ascension[/card] acts like a two-mana version of Thassa’s blink effect that doubles as spot removal, and the fact that [card]Enlightened Tutor[/card] can fetch it is a huge bonus.
[cards]{{Micromancer}} {{Ancestral Recall}}[/cards]
A previous version of this list even included [card]Micromancer[/card] to search up [card]Ancestral Recall[/card] and other 1-mana spells. It’s not in this build anymore, but it’s a flexible option if you want another toolbox piece to play with.
[cards]{{Neoform}} {{Eternal Witness}}[/cards]
[card]Neoform[/card] leads to some great chain lines when paired with [card]Eternal Witness[/card] — Witness returns [card]Neoform[/card] to your hand so you can keep climbing up the curve into bigger and bigger threats.
[cards]{{Thassa, Deep-Dwelling}} {{Airbender Ascension}} {{Time Walk}}[/cards]
And speaking of Witness, once you have either [card]Thassa, Deep-Dwelling[/card] or [card]Airbender Ascension[/card] active, plus a [card]Time Walk[/card] loop through Oracle’s conjured spells, you can generate infinite extra turns. That will make nearly anyone scoop on the spot — even though it takes a few pieces to assemble.
While none of these combos are the single main plan of the deck, they add a ton of hidden power. Players who know the lines get rewarded with some truly wild turns.
Other Historic Brawl Builds: Combo Aang Variant


This version of the Aang deck is built to copy Aang repeatedly and chain enter-the-battlefield triggers for nonstop card advantage.
[cards]{{Mockingbird}} {{Phantasmal Image}} {{Glasspool Mimic}} {{Spark Double}} {{Sakashima of a Thousand Faces}} {{Aang, at the Crossroads}}[/cards]
With so many clone effects like [card]Mockingbird[/card], [card]Phantasmal Image[/card], [card]Glasspool Mimic[/card], [card]Spark Double[/card], and even [card]Sakashima of a Thousand Faces[/card], almost every creature becomes another [card]Aang, at the Crossroads[/card], letting you dig through your deck for more value threats.
Blink cards such as [card]Restoration Angel[/card], [card]Cloudshift[/card], and [card]Ephemerate[/card] ensure your ETB engines never slow down while tutors like [card]Eladamri’s Call[/card] and [card]Worldly Tutor[/card] help assemble the exact pieces you need at the right time. The result is a highly proactive list that wants to snowball early advantage into a locked-up board.
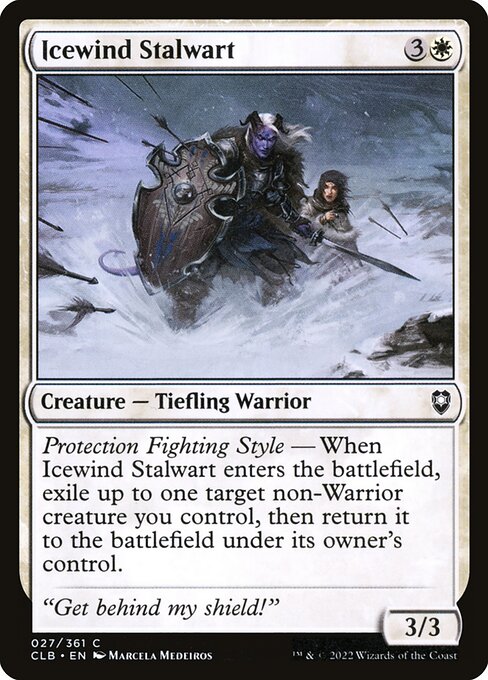
[cards]{{Prosperous Innkeeper}} {{A-Guide of Souls}} {{Icewind Stalwart}} {{Restoration Angel}}[/cards]
The biggest payoff here is a simple infinite life combo: with either [card]Prosperous Innkeeper[/card] or [card]A-Guide of Souls[/card] on the battlefield, you blink or copy [card]Icewind Stalwart[/card] while having [card]Restoration Angel[/card] available — each loop triggers your life-gain engine infinitely.
While less focused on grindy value than the first list, this version trades resiliency for speed: it threatens a win out of nowhere, making it especially fun if you want a more combo-oriented and explosive Aang shell.
Is Aang, at the Crossroads the Best Historic Brawl Bant Commander?
[card]Aang, at the Crossroads[/card] has the potential to be one of the strongest Bant commanders in Historic Brawl thanks to its free value engine, blink synergies, and flexible win paths. However, it isn’t the only top-tier option. Commanders like [card]Derevi, Empyrial Tactician[/card] and [card]Lagrella, the Magpie[/card] also offer powerful strategies and can outperform Aang in certain metas. The best choice depends on whether you prefer value-blink gameplay or other Bant archetypes.
Wrap Up
However you decide to build [card]Aang, at the Crossroads[/card] — whether you lean into blink-and-value loops or push the deck toward explosive combo lines — you’re in for an awesome Historic Brawl experience.
Thanks for reading! If you enjoyed this guide, feel free to explore more of my Historic Brawl deck techs here on Pauper Brews. Take care, and I’ll see you in the next article — yip yip!
.jpg)

.jpg)
.jpg)
.png)
.webp)
.png)
.webp)
.jpg)
Comments
Post a Comment