Slimefoot and Squee Historic Brawl Deck Tech — The Ultimate Graveyard Duo!

Slimefoot and Squee has quickly become one of my favorite commanders in Historic Brawl. The deck is fast, flexible, and packed with clever graveyard tricks that make every game feel exciting. So today, I’m breaking down my main build, how to play it, and the best tips and interactions you’ll want to look out for if you’re planning to pilot the fungus and the goblin yourself. Intrigued? Let’s dive in!
Table of Contents
Historic Brawl Slimefoot and Squee Deck Overview


This deck is all about turning tiny creatures into massive value. With [card]Slimefoot and Squee[/card] leading the way, you create endless Saproling tokens and then sacrifice them to bring big threats back from the graveyard. You’re constantly generating advantage, putting pressure on life totals, and looping creatures until your opponent runs out of answers. It plays like a midrange engine — grindy, resilient, and explosive when the synergies come together.
The Commander: Slimefoot and Squee Deck
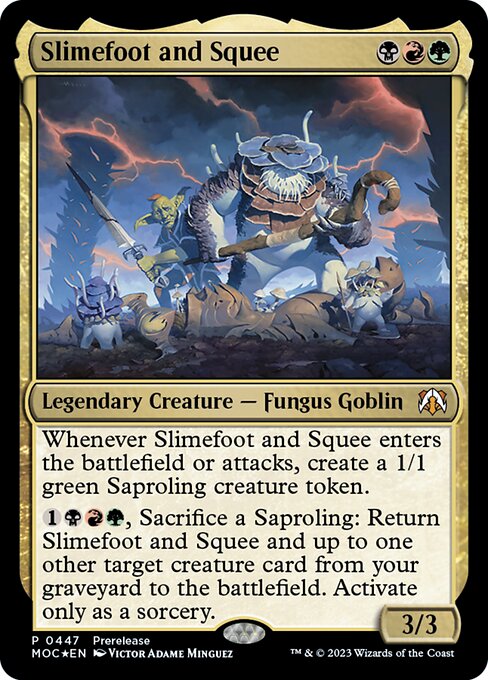
[cards]{{Slimefoot and Squee}}[/cards]
[card]Slimefoot and Squee[/card] gives you everything you want in Jund: a steady stream of creatures and a built-in reanimation engine. Every attack creates Saprolings, and if the board ever gets wiped, you can just sacrifice one to return this card and another creature straight to the battlefield. You’re always rebuilding, always threatening, and always ready to combo off.
Best Creatures for Slimefoot and Squee Historic Brawl
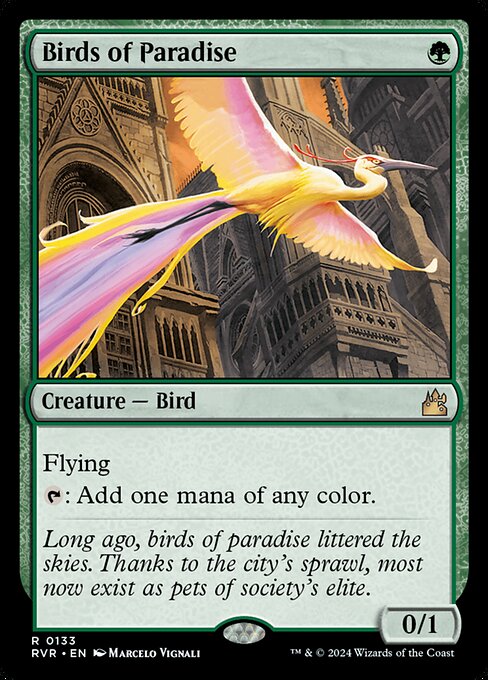
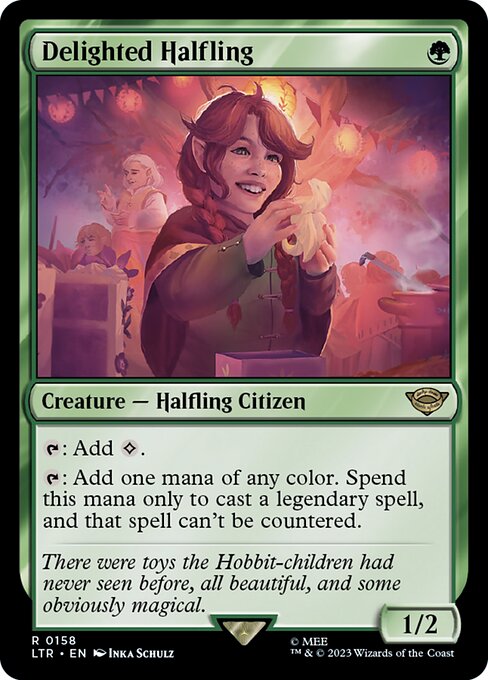
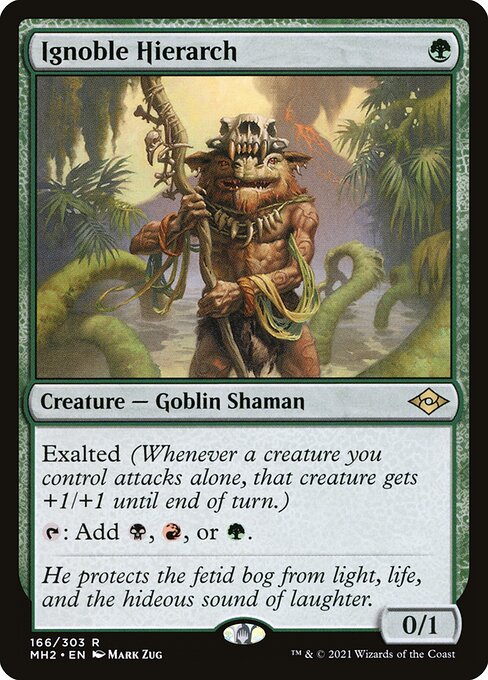
[cards]{{Birds of Paradise}}{{Ignoble Hierarch}}{{Delighted Halfling}}[/cards]
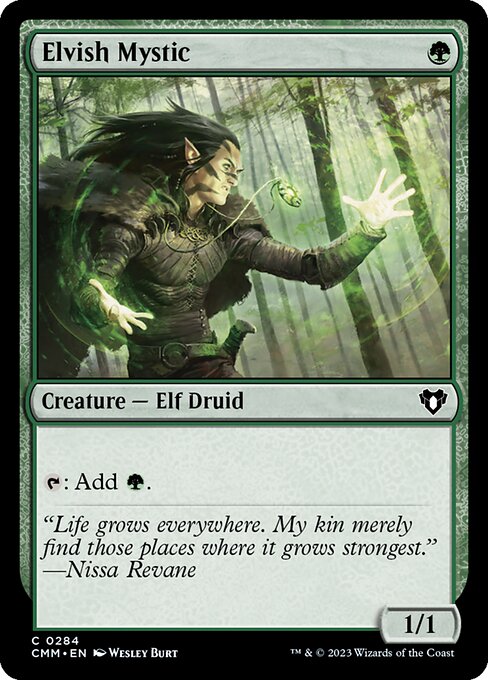
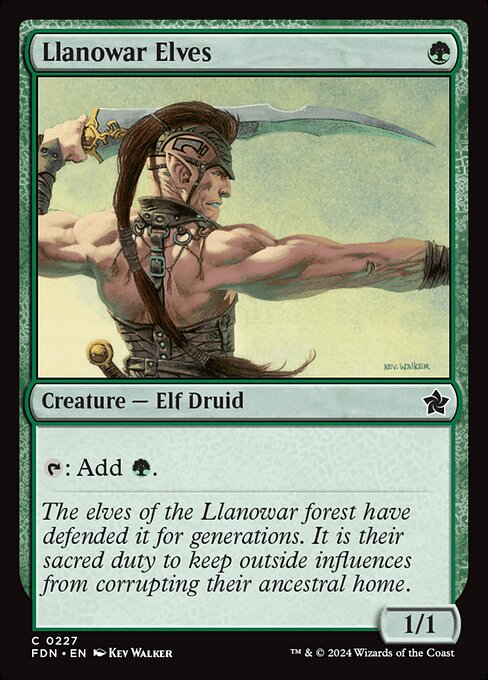
This deck runs a strong mix of value creatures and aggressive threats. Ramp dorks like [card]Llanowar Elves[/card], [card]Birds of Paradise[/card], [card]Ignoble Hierarch[/card], and [card]Delighted Halfling[/card] help power out your commander early.
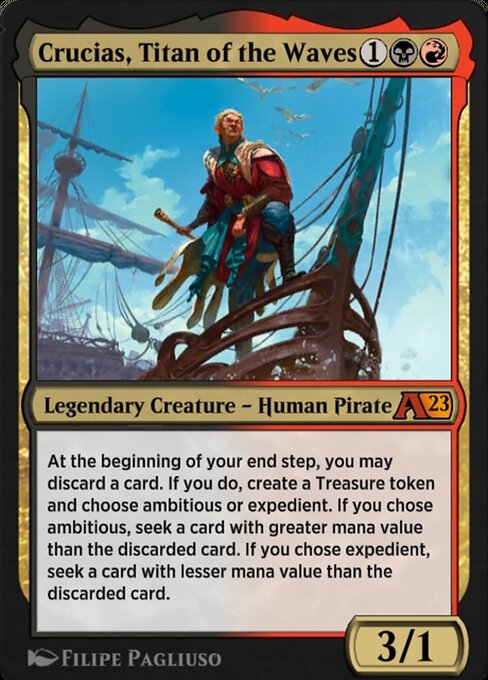
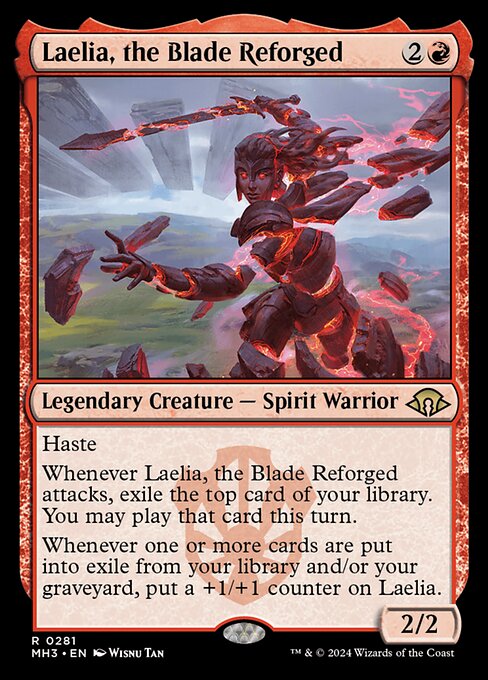
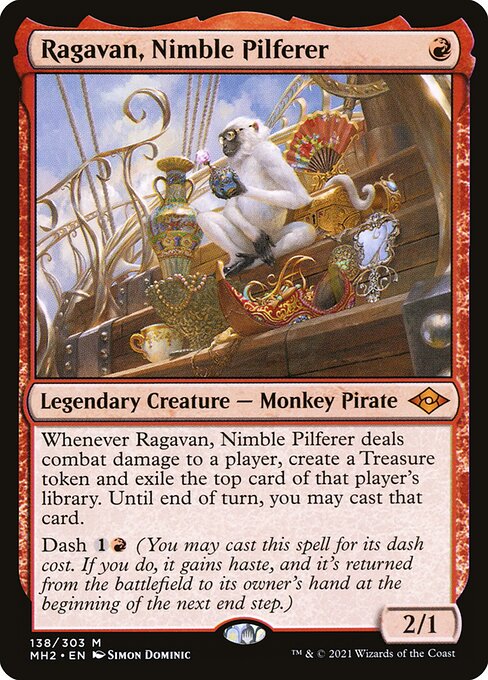
[cards]{{Ragavan, Nimble Pilferer}}{{Laelia, the Blade Reforged}}{{Crucias, Titan of the Waves}}[/cards]
Meanwhile, creatures like [card]Laelia, the Blade Reforged[/card], [card]Ragavan, Nimble Pilferer[/card], and [card]Crucias, Titan of the Waves[/card] keep cards flowing and pressure mounting.
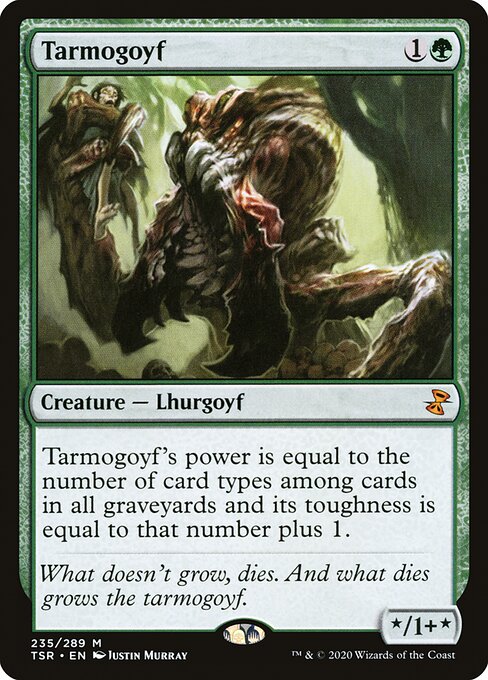
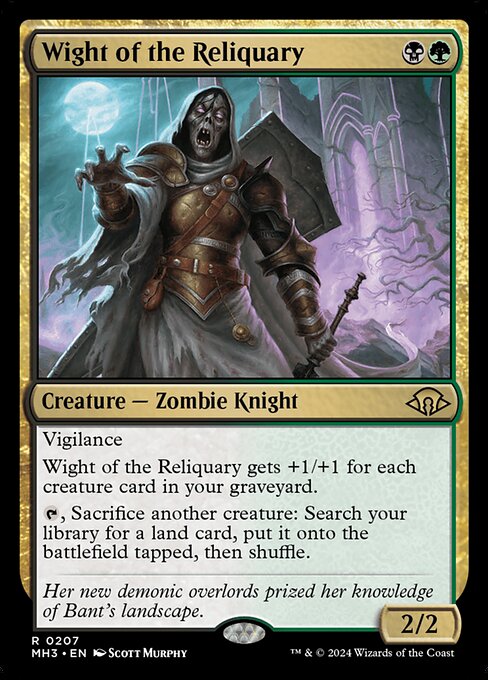
[cards]{{Tarmogoyf}}{{Barrowgoyf}}{{Wight of the Reliquary}}[/cards]
You also get graveyard powerhouses like [card]Tarmogoyf[/card], [card]Barrowgoyf[/card], and [card]Wight of the Reliquary[/card] that scale naturally as the game goes long.
Payoffs and Win Conditions in Slimefoot and Squee
Once you’re building a board of small creatures, your payoffs shine.
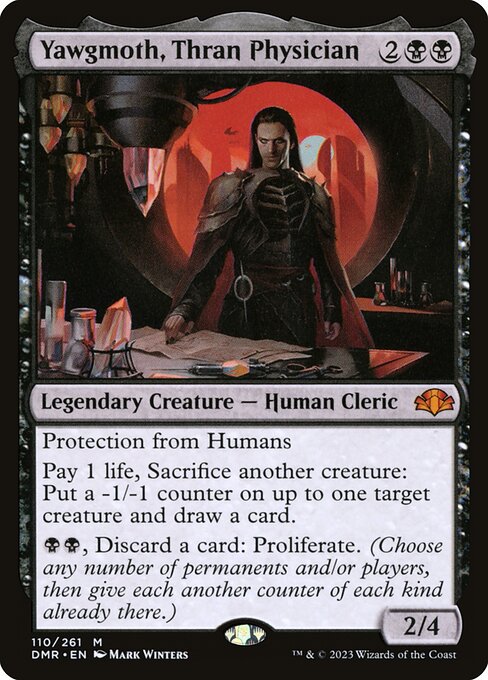
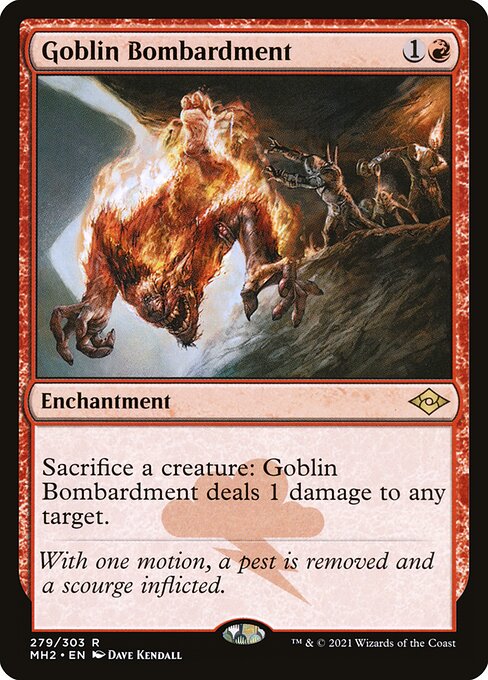
[cards]{{Goblin Bombardment}}{{Yawgmoth, Thran Physician}}[/cards]
[card]Goblin Bombardment[/card] turns sacrifices into damage. [card]Yawgmoth, Thran Physician[/card] draws tons of cards while shrinking boards.
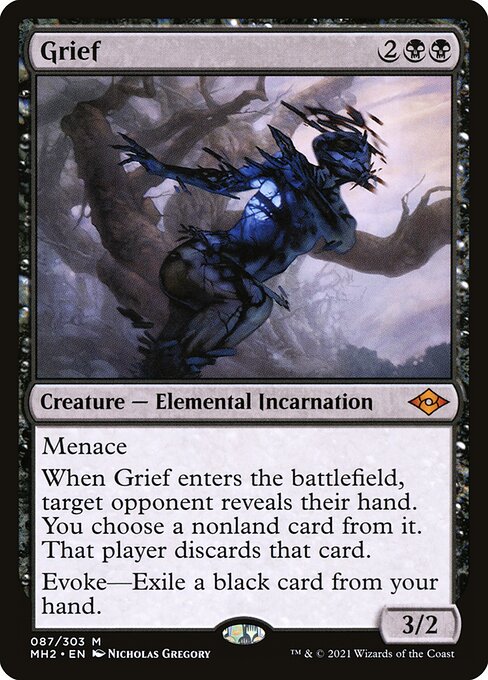
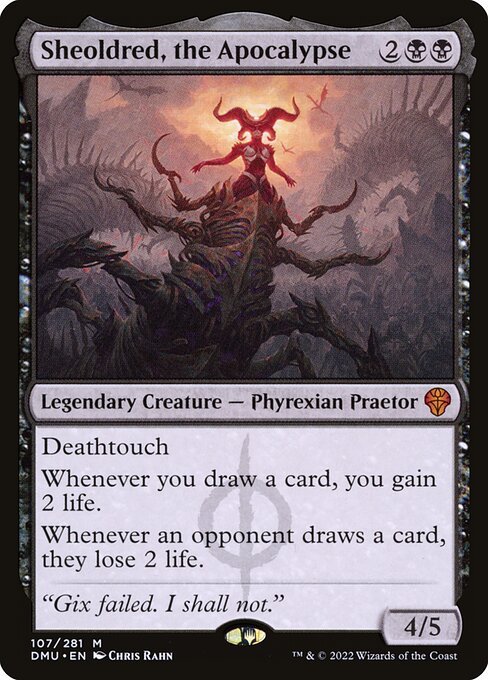
[cards]{{Sheoldred, the Apocalypse}}{{Grief}}{{Fury}}{{Sephiroth, Fabled SOLDIER}}[/cards]
[card]Sheoldred, the Apocalypse[/card] flips life totals on its own. And big finishers like [card]Fury[/card], [card]Grief[/card], and [card]Sephiroth, Fabled SOLDIER[/card] either disrupt hands or outright kill creatures while working perfectly with recursion. You always have a way to push ahead.
Engine Pieces and Synergies for Slimefoot Combo Lines
This deck wants creatures in the graveyard, and the enablers help you fill it fast.
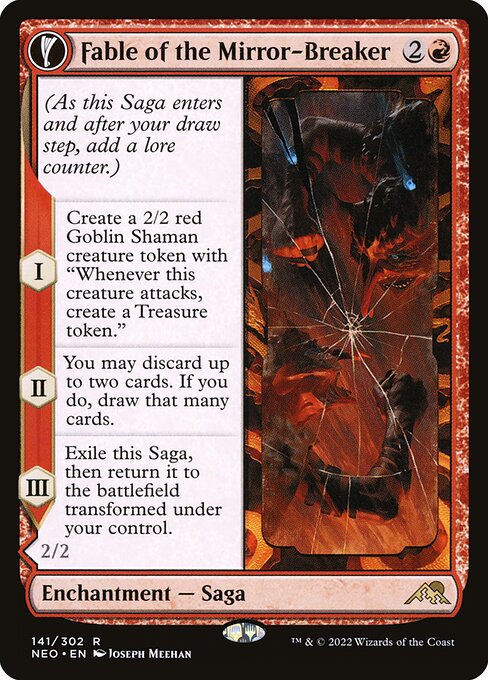
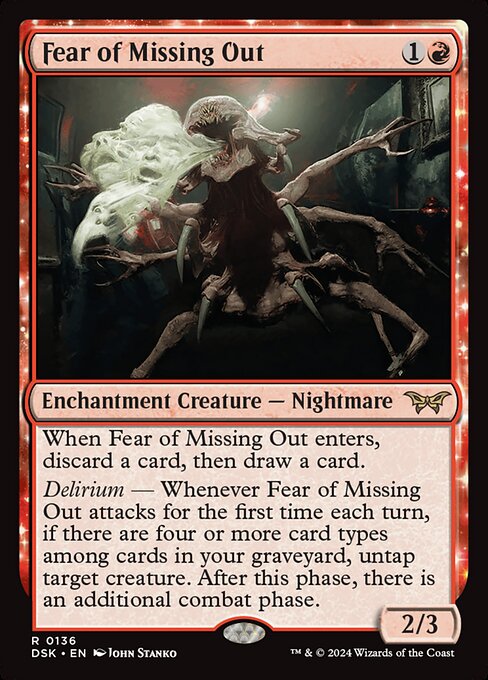
[cards]{{Fable of the Mirror-Breaker}}{{Fear of Missing Out}}[/cards]
Cards like [card]Fable of the Mirror-Breaker[/card] and [card]Fear of Missing Out[/card] loot away pieces you’ll reanimate later.
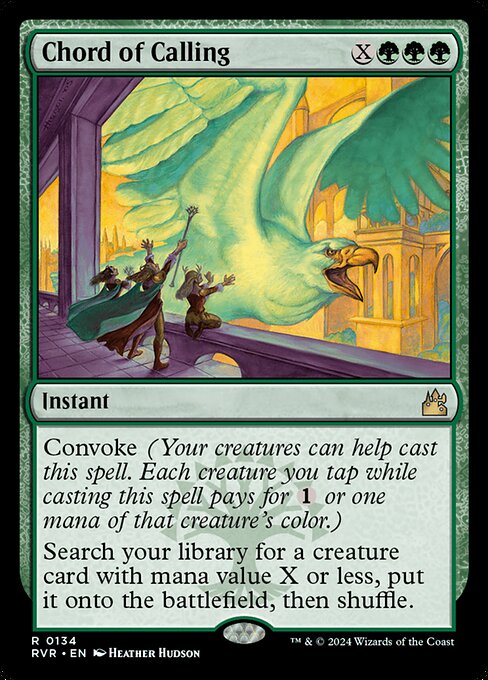
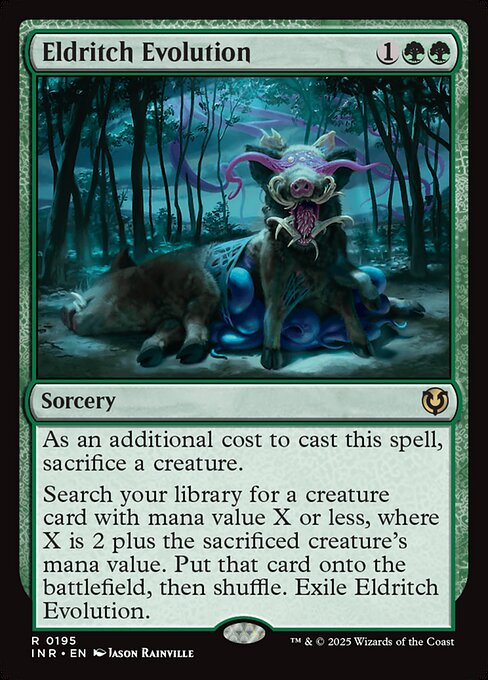
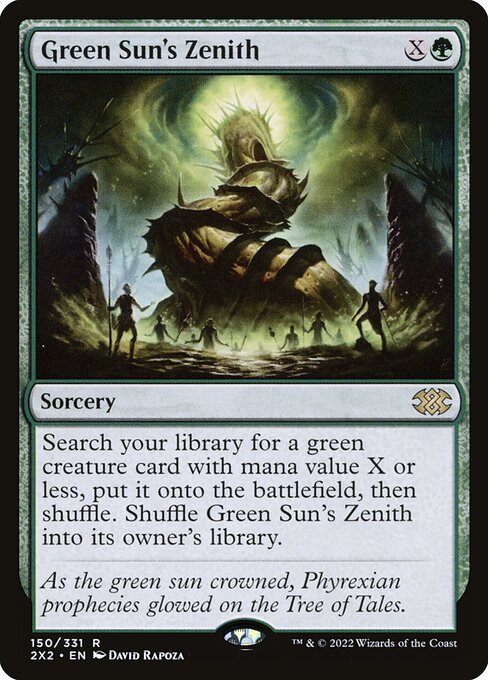
[cards]{{Eldritch Evolution}}{{Green Sun's Zenith}}{{Chord of Calling}}{{Worldly Tutor}}[/cards]
[card]Eldritch Evolution[/card], [card]Chord of Calling[/card], [card]Green Sun's Zenith[/card], and [card]Worldly Tutor[/card] find the exact creature you need.
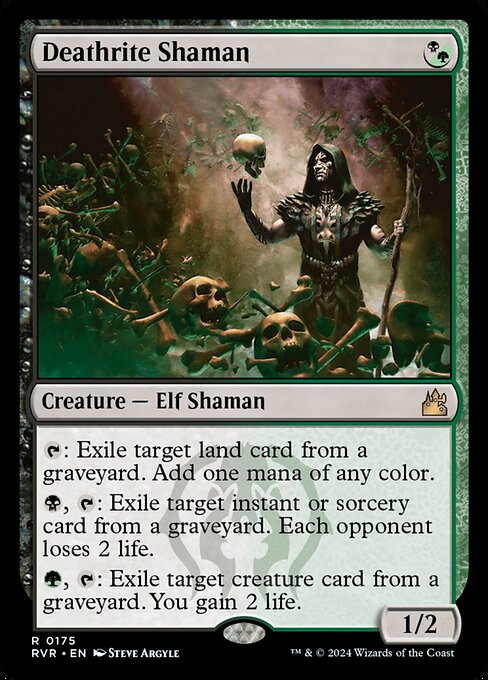
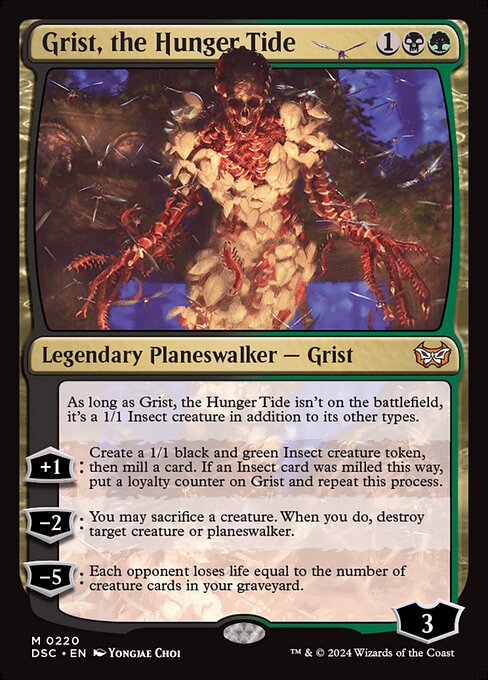
[cards]{{Deathrite Shaman}}{{Grist, the Hunger Tide}}[/cards]
[card]Deathrite Shaman[/card] and [card]Grist, the Hunger Tide[/card] give you value while feeding the graveyard strategy. The engine never stops running.
Best Interaction in Slimefoot and Squee Historic Brawl
Since Historic Brawl is packed with powerful commanders, you have to keep opponents in check.
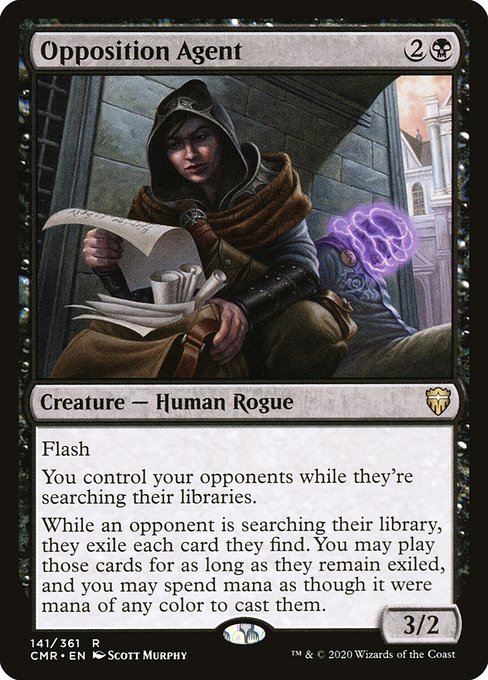
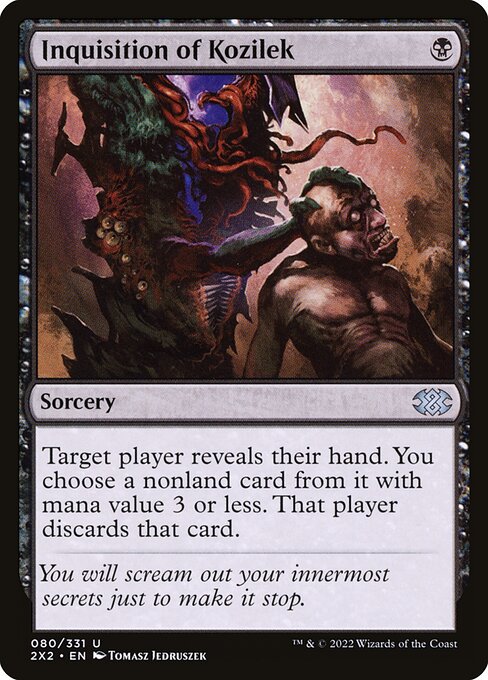
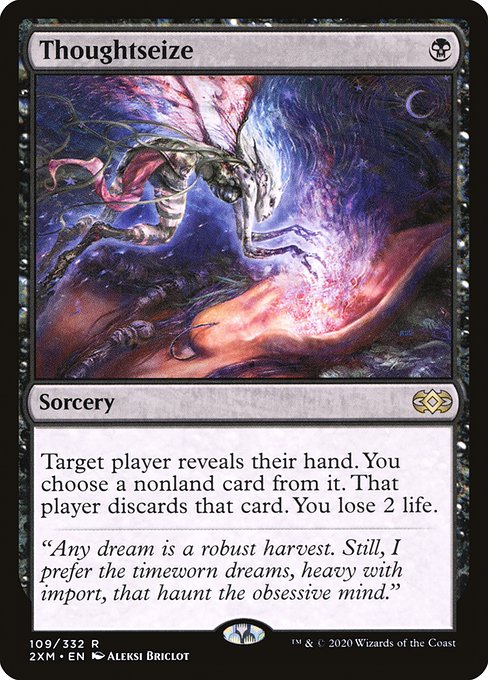
[cards]{{Thoughtseize}}{{Inquisition of Kozilek}}{{Opposition Agent}}[/cards]
[card]Thoughtseize[/card], [card]Inquisition of Kozilek[/card], and [card]Opposition Agent[/card] interfere with tutoring and early strategies.
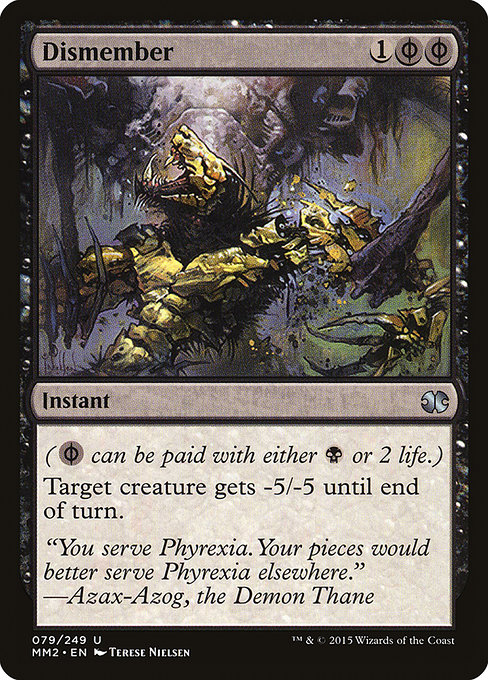
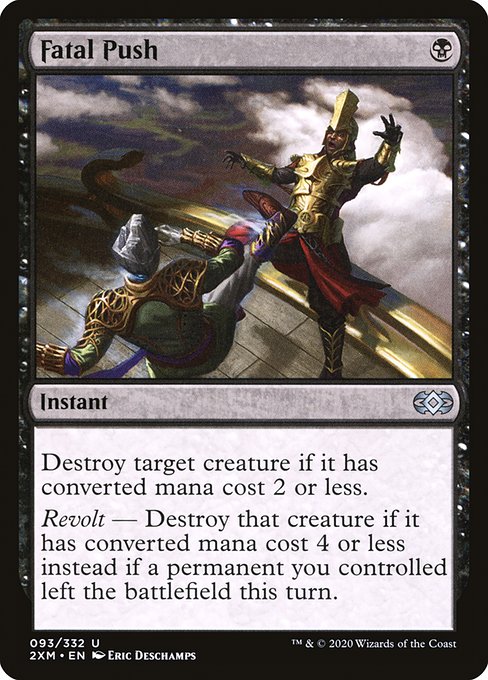
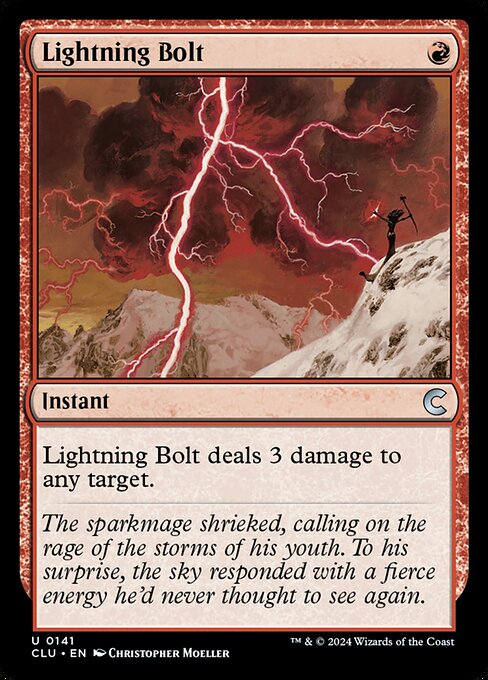
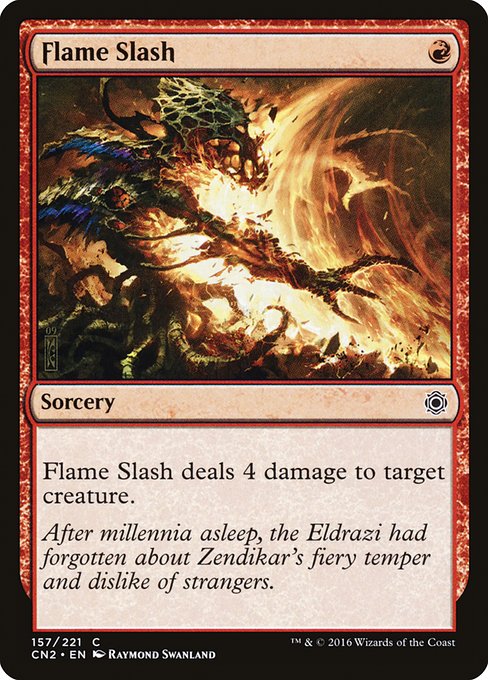
[cards]{{Fatal Push}}{{Dismember}}{{Flame Slash}}{{Lightning Bolt}}{{Chain Lightning}}[/cards]
Removal spells like [card]Fatal Push[/card], [card]Dismember[/card], [card]Flame Slash[/card], and [card]Lightning Bolt[/card] keep the battlefield manageable.
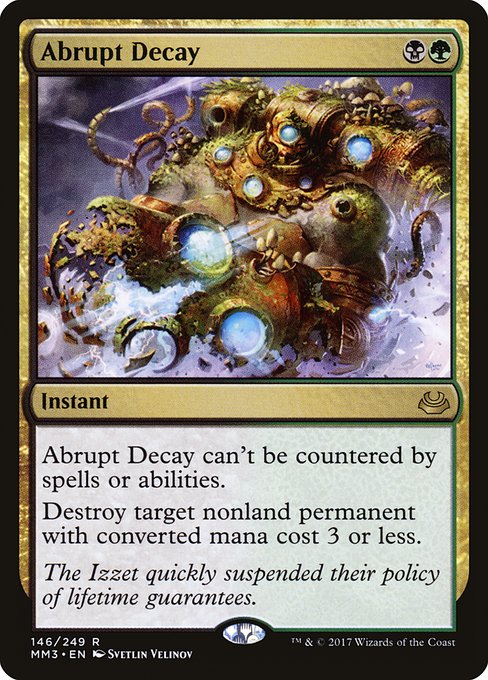
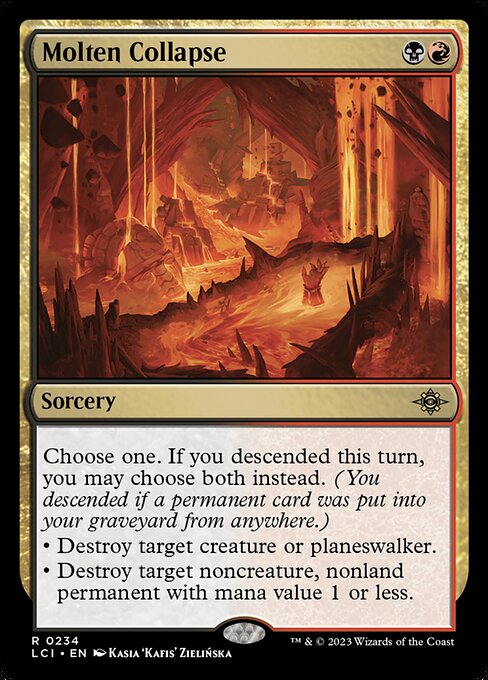
[cards]{{Molten Collapse}}{{Abrupt Decay}}[/cards]
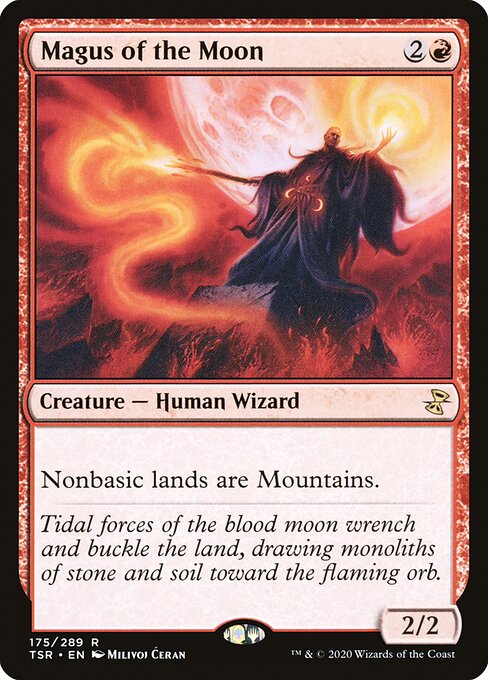
You get flexible answers too, from [card]Abrupt Decay[/card] to [card]Molten Collapse[/card] — and even [card]Magus of the Moon[/card] to punish greedy mana bases.
Removal Tools That Keep Opponents in Check
When you want to remove something permanently, you have efficient tools.
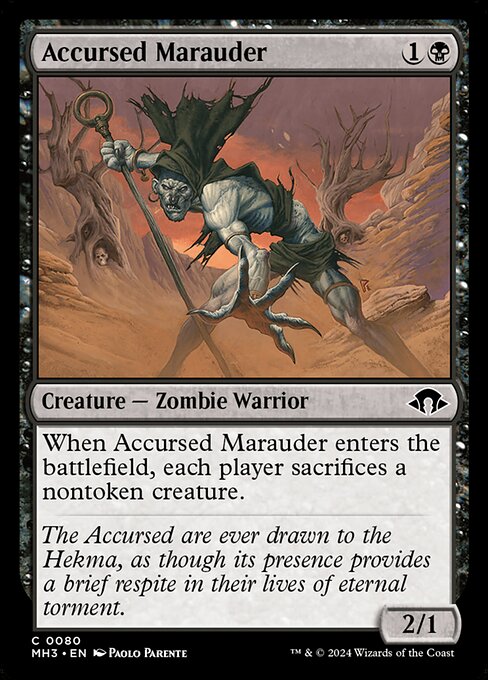
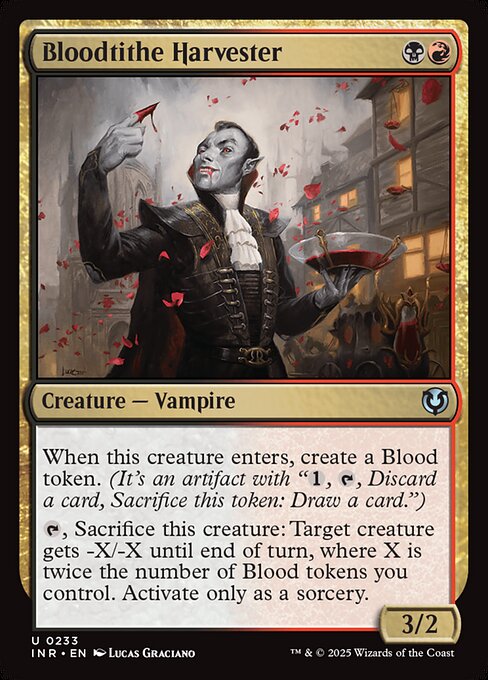
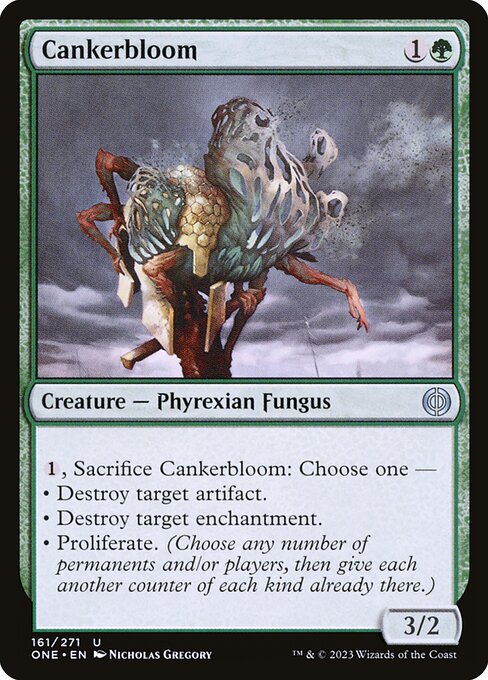
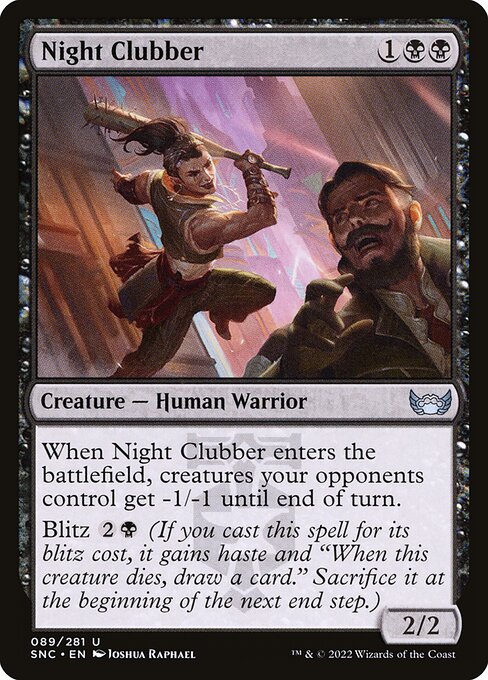
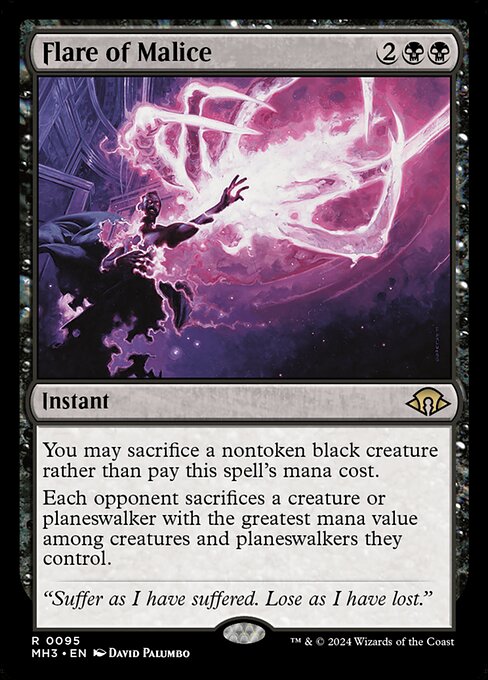
[cards]{{Bloodtithe Harvester}}{{Night Clubber}}{{Cankerbloom}}{{Flare of Malice}}{{Accursed Marauder}}{{Molten Collapse}}{{Abrupt Decay}}[/cards]
[card]Night Clubber[/card] sweeps tokens. [card]Cankerbloom[/card] hits artifacts and enchantments. [card]Bloodtithe Harvester[/card] can kill just about anything with enough Blood tokens. And [card]Flare of Malice[/card] forces opponents to sacrifice their biggest threats. Combining sacrifice effects with recursion makes this removal feel endless.
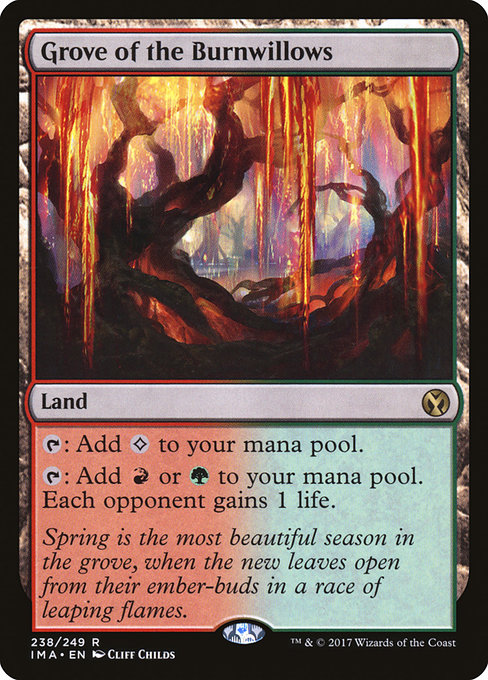
Optimized Manabase for Slimefoot and Squee
Your lands give you consistency and utility.
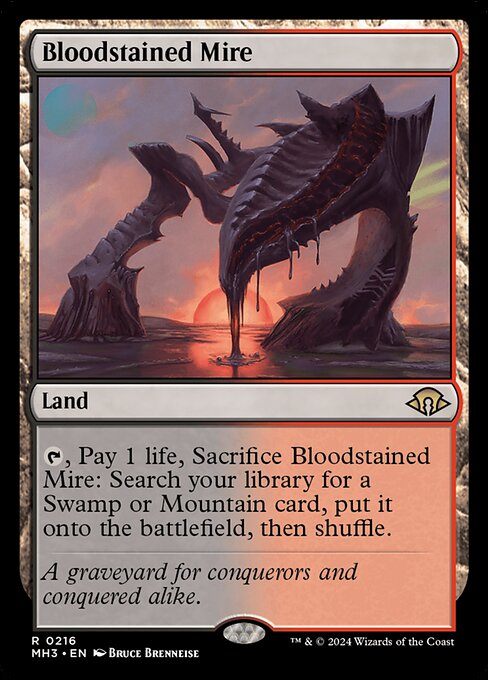
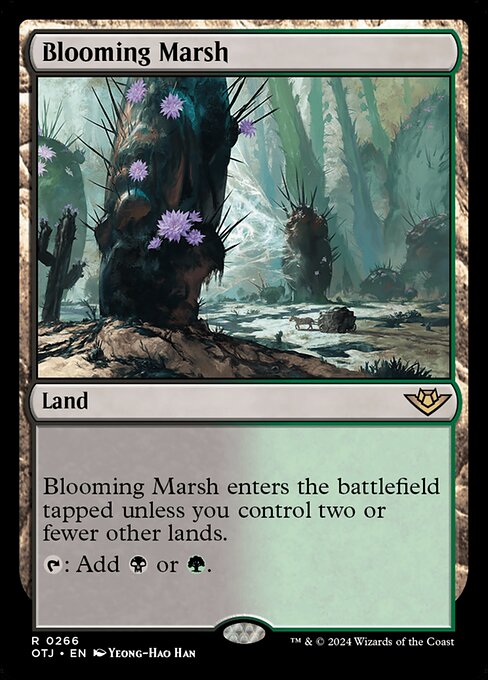
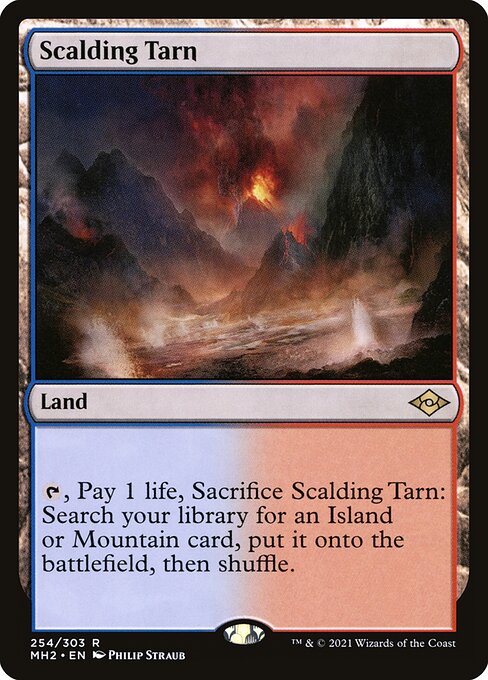
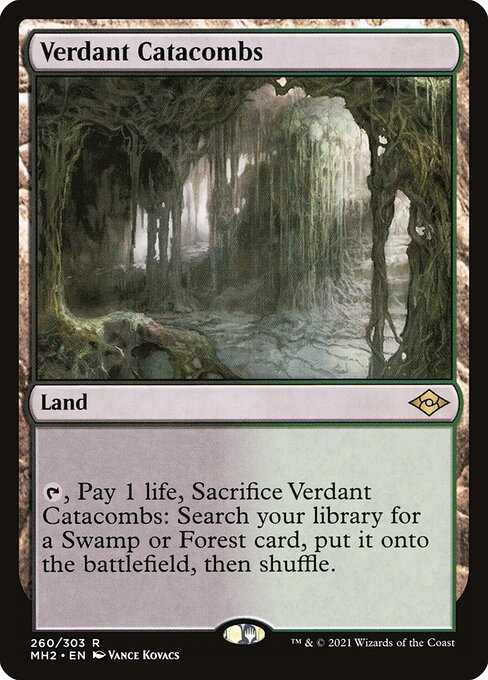
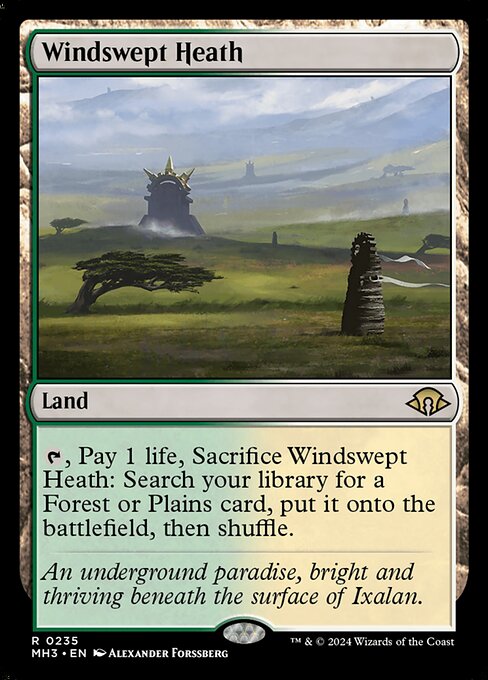
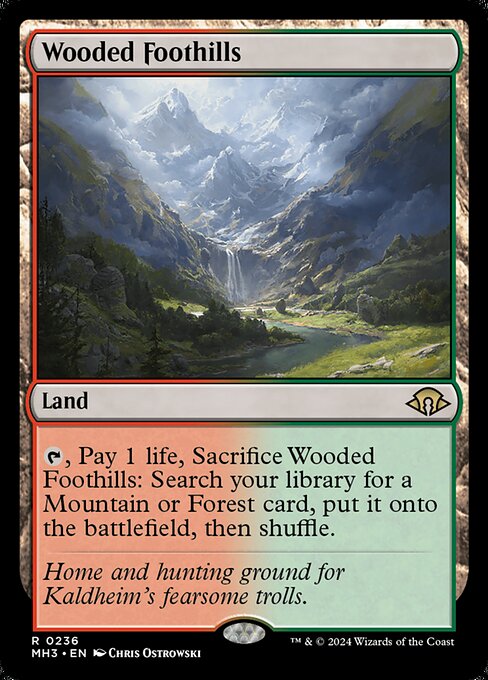
[cards]{{Stomping Ground}}{{Blooming Marsh}}{{Bloodstained Mire}}{{Verdant Catacombs}}{{Scalding Tarn}}[/cards]
Shocklands like [card]Stomping Ground[/card], [card]Blood Crypt[/card], and [card]Overgrown Tomb[/card] keep you fast. Fetchlands like [card]Wooded Foothills[/card], [card]Verdant Catacombs[/card], and [card]Bloodstained Mire[/card] fix perfectly while stocking the graveyard.
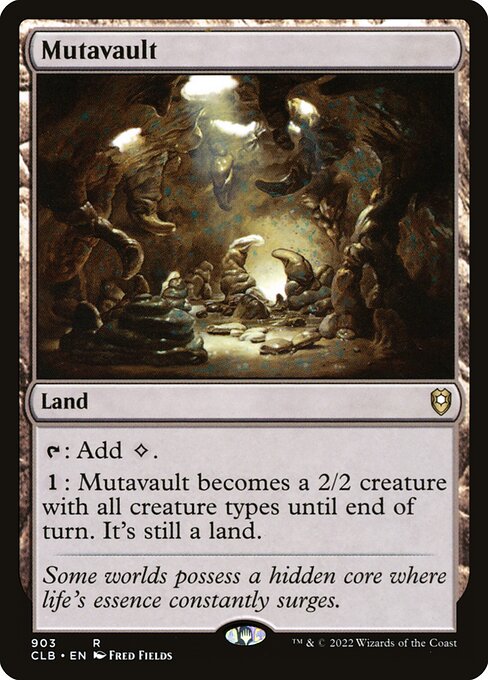
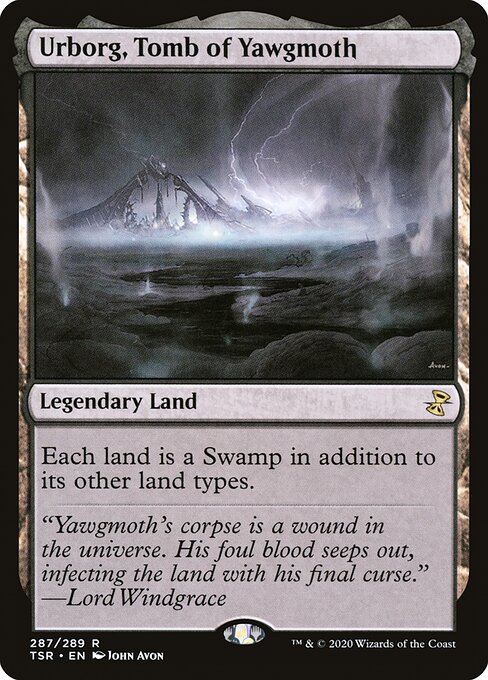
[cards]{{Phyrexian Tower}}{{Mutavault}}{{Urborg, Tomb of Yawgmoth}}{{Yavimaya, Cradle of Growth}}[/cards]
Utility lands like [card]Phyrexian Tower[/card] and [card]Mutavault[/card] add even more synergies. And the legendary pair [card]Urborg, Tomb of Yawgmoth[/card] and [card]Yavimaya, Cradle of Growth[/card] smooth out everything.
How to Play Slimefoot and Squee in Historic Brawl
This deck plays like an aggro-leaning midrange toolbox that thrives on graveyard shenanigans. You ramp into [card]Slimefoot and Squee[/card] early, then start pressuring with efficient threats and sacrifice value engines. Tokens feed your outlets, which fuel recursion, which lets you bring your biggest creatures back over and over again.
Furthermore, opponents usually need two separate removal effects to actually shut your commander down — one for the Saproling you sacrifice, and then another for S&S itself — and many times they need to kill the token first just to stop the reanimation loop. That makes your game plan incredibly resilient. Even when graveyard hate shows up, you can pivot into a straight-up aggro plan and win through combat backed by efficient removal and disruptive hate pieces. Any trade is a good trade for you, because every creature that dies just opens the door to more value.
Slimefoot and Squee Combos & Key Interactions
One of the most important synergies in the deck comes from pairing [card]Slimefoot and Squee[/card] with free sacrifice outlets like [card]Phyrexian Tower[/card] or [card]Goblin Bombardment[/card]. This gives you a reliable way to loop your commander and keep the value engine running, even through removal.
[cards]{{Slimefoot and Squee}}{{Phyrexian Tower}}{{Goblin Bombardment}}[/cards]
By sacrificing a Saproling, you can bring S&S back along with another creature from your graveyard. Every time this happens, you’re generating more tokens, more pressure, and more triggers your opponent must deal with — and eventually they just can’t keep up.
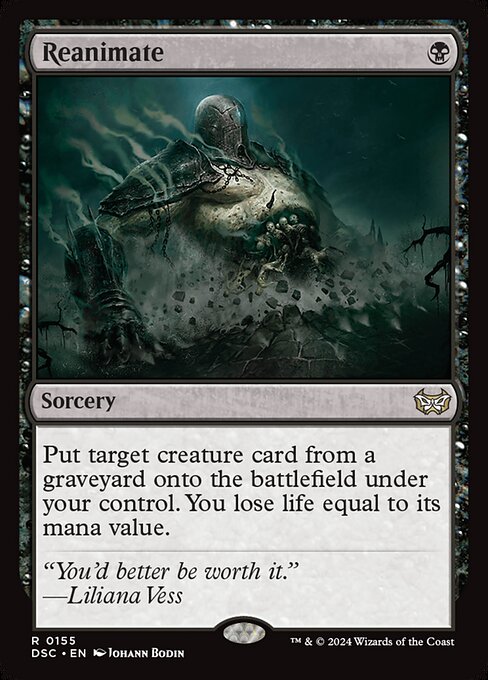
[cards]{{Troll of Khazad-dûm}}{{Reanimate}}[/cards]
You also get some explosive early plays thanks to landcycling creatures like [card]Troll of Khazad-dûm[/card]. If you pair that with [card]Reanimate[/card], you might be attacking with a massive body as early as turn two — which forces opponents to deal with you very quickly.
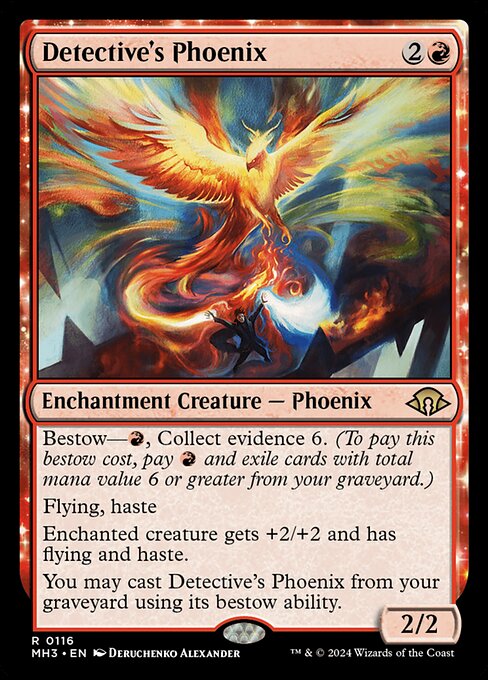
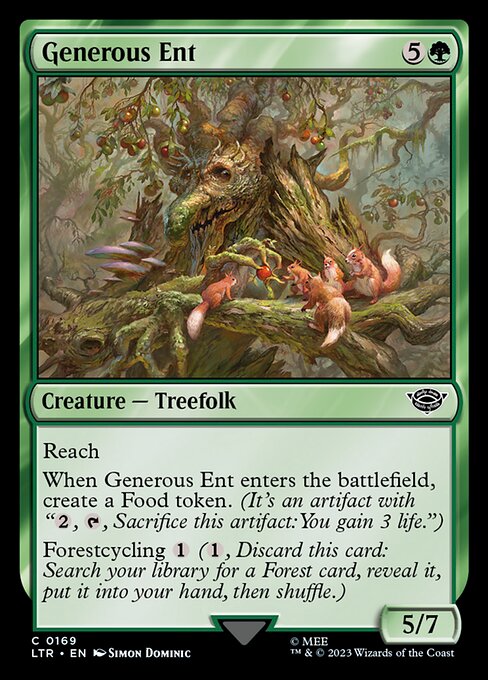
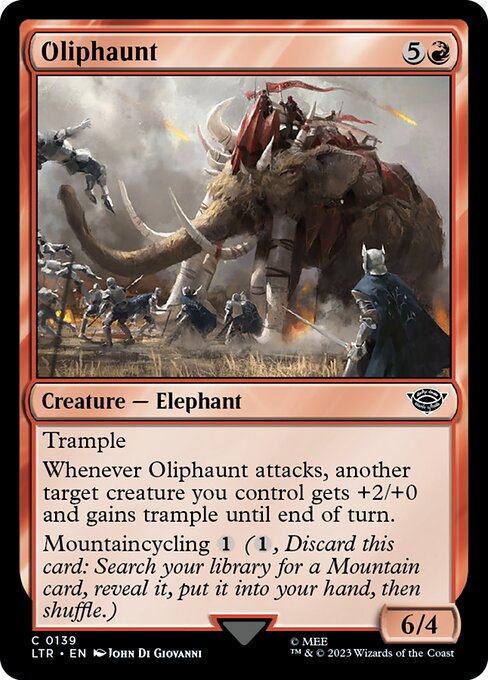
[cards]{{Detective's Phoenix}}{{Troll of Khazad-dûm}}{{Generous Ent}}{{Oliphaunt}}[/cards]
Another slick synergy involves [card]Detective’s Phoenix[/card] and your other landcyclers — [card]Troll of Khazad-dûm[/card], [card]Generous Ent[/card], and [card]Oliphaunt[/card]. Cycling these large creatures for just {1} means they hit the graveyard with high mana value, often enough to Bestow the Phoenix immediately and give one of your threats haste out of nowhere.
[cards]{{Fear of Missing Out}}{{Fable of the Mirror-Breaker}}[/cards]
And to make it even better — you can pitch the Phoenix to [card]Fear of Missing Out[/card] or [card]Fable of the Mirror-Breaker[/card], then just bring it right back later. Once it starts looping, it becomes a constant threat that refuses to go away.
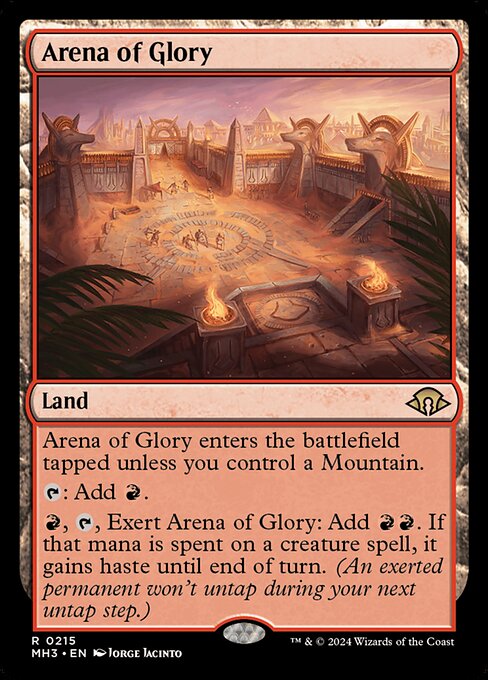
[cards]{{Arena of Glory}}[/cards]
[card]Arena of Glory[/card] gives you another angle of attack. Its {R}{R} ability can be split between two different creature spells, letting you give multiple creatures haste in a turn. That’s a surprise win button when you just recurred two heavy hitters.
[cards]{{Grist, the Hunger Tide}}{{Green Sun's Zenith}}{{Chord of Calling}}{{Worldly Tutor}}{{Slimefoot and Squee}}[/cards]
Your tutor package is also a huge part of the deck’s strength. Cards like [card]Green Sun’s Zenith[/card], [card]Chord of Calling[/card], and [card]Worldly Tutor[/card] help you find [card]Grist, the Hunger Tide[/card] exactly when you need a removal engine or a late-game finisher. Plus, if Grist ends up in the graveyard, Slimefoot and Squee can just bring it right back into play.
[cards]{{Yawgmoth, Thran Physician}}{{Sheoldred, the Apocalypse}}[/cards]
Your main closers are [card]Yawgmoth, Thran Physician[/card] and [card]Sheoldred, the Apocalypse[/card]. Yawgmoth draws cards while shrinking the enemy board, and Sheoldred flips life totals every single turn. Either one left unanswered will eventually take over the game.
[cards]{{Magus of the Moon}}{{Chord of Calling}}[/cards]
Sometimes your best line is just slamming [card]Magus of the Moon[/card] off a quick [card]Chord of Calling[/card]. Against multicolor manabases, that can lock the game up immediately — so don’t be afraid to go for the cheese win when it’s there.
[cards]{{Frenzied Baloth}}{{Spider-Punk}}[/cards]
Creatures like [card]Frenzied Baloth[/card] and [card]Spider-Punk[/card] help push through control decks by fighting countermagic. Just remember: only Baloth is actually uncounterable — Spider-Punk can still be countered even though it hates prevention.
[cards]{{Emperor of Bones}}[/cards]
There are also some neat priority tricks with [card]Emperor of Bones[/card]. You can exile a target with its ability, hold priority, and Adapt right away to put that creature directly onto the battlefield before opponents can respond. It’s a slick way to steal tempo.
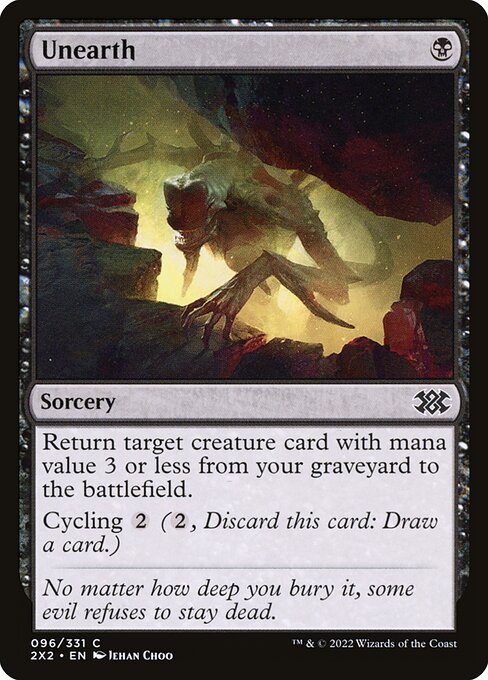
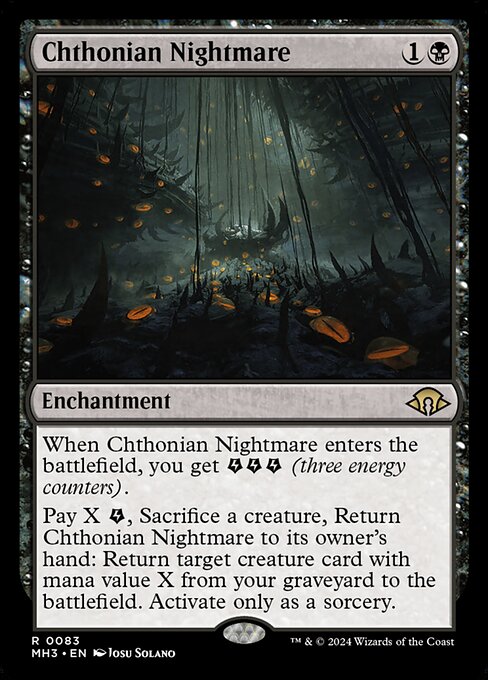
[cards]{{Reanimate}}{{Unearth}}{{Chthonian Nightmare}}{{Mutavault}}[/cards]
If your commander and Saproling are removed at the same time, don’t panic — you still have backup plans. Cards like [card]Reanimate[/card], [card]Unearth[/card], and [card]Chthonian Nightmare[/card] can bring the loop back. And if all else fails, [card]Mutavault[/card] can animate itself, get sacrificed as a Saproling, and restart the entire engine — winning games where opponents think they’ve finally shut you down.
[cards]{{Cankerbloom}}{{Yawgmoth, Thran Physician}}{{Grist, the Hunger Tide}}[/cards]
Lastly, proliferate matters more than it looks. [card]Cankerbloom[/card] can add loyalty to [card]Grist, the Hunger Tide[/card] or extend the number of draws/removals from [card]Yawgmoth, Thran Physician[/card], giving your key engines just enough staying power to take over.
Is Slimefoot and Squee good in Historic Brawl?
Yes! Slimefoot and Squee is one of the most resilient midrange commanders in Historic Brawl. It generates tokens for free, loops creatures from the graveyard, and pressures life totals while surviving multiple removal attempts. Even against graveyard hate, the deck can pivot into an aggressive combat plan and win on board.
How do you remove Slimefoot and Squee?
You usually need two removal effects to permanently stop Slimefoot and Squee — one for the Saproling and one for the commander. If the Saproling isn’t gone, the ability can return S&S and another creature to the battlefield. That makes the deck tough to shut down long-term.
Is Slimefoot and Squee an aggro or combo commander?
It’s a hybrid. In most games, it plays as an aggressive midrange deck with toolbox elements — but it can set up soft combos where recurring creatures and sacrifice outlets generate overwhelming value.
Is Slimefoot and Squee the best Jund commander in Historic Brawl?
Yes. [card]Slimefoot and Squee[/card] is the most flexible Jund commander thanks to strong recursion, sacrifice value, and the ability to pivot between aggro and midrange plans. The main rival is the rebalanced [card]Soul of Windgrace[/card], but losing [card]Strip Mine[/card] in Historic Brawl hurts its control land strategy. Even with new toys like [card]Dark Depths[/card], Windgrace leans slower and more controlling, while Slimefoot stays a true jack-of-all-trades that wins through pressure, grind, or both.
What is the win condition for Slimefoot and Squee?
You win by stacking value from token generation, sacrifice effects, and recursion. Cards like [card]Goblin Bombardment[/card] can end games without even attacking, while big threats like [card]Sheoldred, the Apocalypse[/card] and [card]Laelia, the Blade Reforged[/card] close out games through combat.
Does graveyard hate stop Slimefoot and Squee?
Not really. While graveyard hate can slow the recursion engine, the deck still functions as a proactive aggro-midrange strategy with strong removal and efficient threats. You can easily shift gears and win by combat.
Do you have to choose a target when activating Slimefoot and Squee’s ability?
No. You can activate [card]Slimefoot and Squee[/card] without choosing a creature to return. The ability can still resolve even with no target selected.
What happens if the target becomes illegal before Slimefoot and Squee’s ability resolves?
If you choose a target and that creature becomes illegal (exiled, etc.) before the ability resolves, the entire ability fizzles — Slimefoot and Squee won’t return to the battlefield. In those cases, activating with no target is usually the safe play.
What’s the best way to beat Slimefoot and Squee?
The best way to beat Slimefoot and Squee is to apply fast pressure while limiting access to the graveyard. Graveyard exile, bounce spells, and countering the commander before they get a Saproling on the board can slow the recursion loop enough to close the game.
Certain cards also shut the deck down cleanly. A resolved [card]Fury[/card] or [card]Farewell[/card] can wipe the board and remove key pieces all at once, forcing Slimefoot players to rebuild from scratch.
Another approach is to race with a very fast and powerful combo. Lines like Entomb + Reanimate, Show and Tell setups, or big haymakers like Cruel Ultimatum can go over the top before Slimefoot’s value engine kicks in. But to be fair, those strategies beat most decks that aren’t running countermagic—so don’t rely on that alone.
Wrap Up
This guide ended up being a lot bigger than I expected, but Slimefoot and Squee deserve the full treatment! Thanks so much for reading, and I hope this helps you pilot the fungus and the goblin to a ton of Historic Brawl victories. Thanks for reading, and if you enjoyed this guide, be sure to check out the rest of my Historic Brawl deck Techs I’ve compiled here on the site. See you in the next one!
.jpg)

.jpg)
.jpg)
.png)
.png)
.webp)
.webp)
.jpg)
Comments
Post a Comment