NEW Soul of Windgrace Landfall Combo Deck in Historic Brawl is INSANE

Strip Mine leaving Arena was the right call for Historic Brawl, even if a few decks will miss it. One of those was Soul of Windgrace — a deck I managed to pilot to around a 75% win rate on ladder. But as the saying goes, Arena takes, and Arena gives. With recent updates, we’ve gained new win conditions that feel strong and a lot fairer to play against. Intrigued? Let’s dive in!
Table of Contents
Soul of Windgrace Historic Brawl Deck Overview


This [card]A-Soul of Windgrace[/card] Historic Brawl deck is all about turning lands into your strongest resource. With [card]A-Soul of Windgrace[/card] constantly bringing lands back from the graveyard, you never run out of mana, cards, or ways to pressure the battlefield. The deck ramps quickly, fixes colors effortlessly, and builds toward explosive finishers
The Commander: Soul of Windgrace
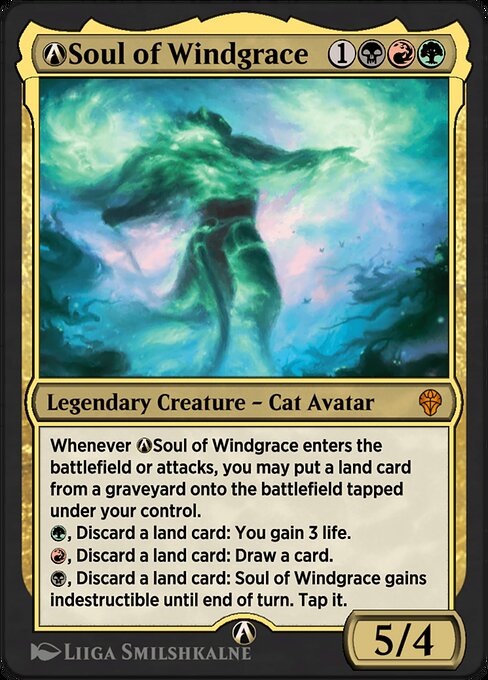
[cards]{{A-Soul of Windgrace}}{{Soul of Windgrace}}[/cards]
[card]A-Soul of Windgrace[/card] is the heart of the deck, turning lands in the graveyard into pure advantage — more lands on the battlefield, more cards in hand, and protection from removal when needed. Because Windgrace mills and replays lands, every fetch land, discard outlet, and self-mill effect becomes fuel for the engine. You’ll almost never miss a land drop, and you’ll always have extra cards to pitch for value. It’s also worth noting that this rebalanced version of Windgrace is actually a bit stronger than the original version, even if you don’t end up activating all of its modes every game. The important thing is that the commander always keeps your resource flow going, and that’s what makes the entire strategy work.
Soul of Windgrace Best Creatures
Your creatures either ramp, recur lands, or become giant threats because of how many lands you'll end up with.
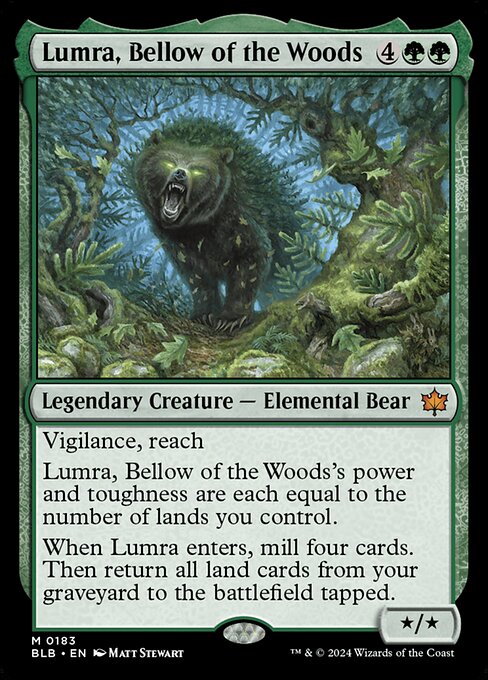
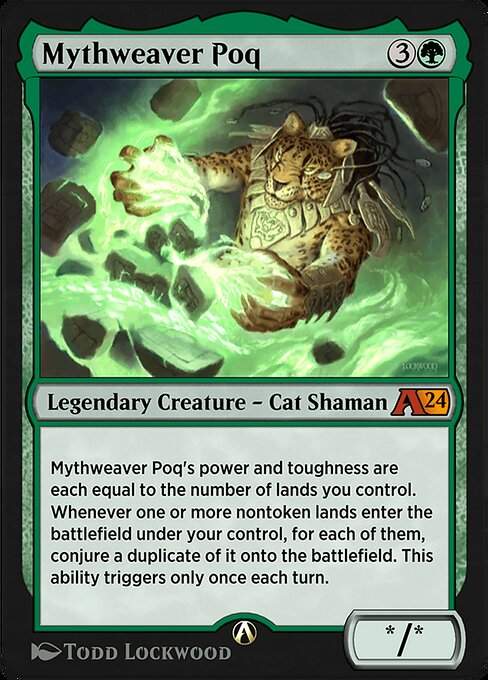
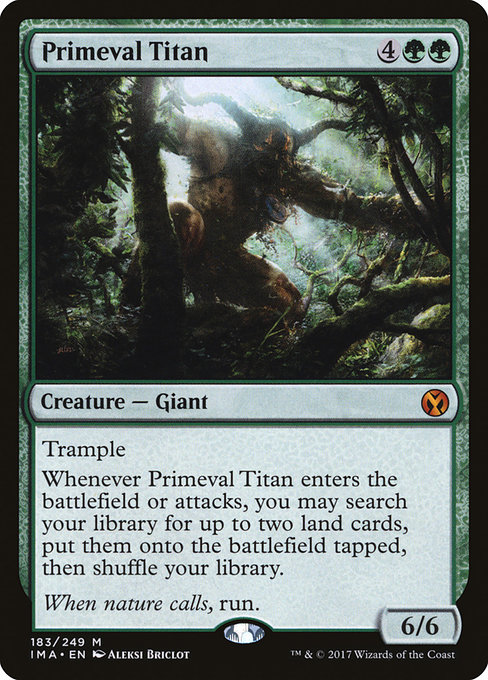
[cards]{{Primeval Titan}}{{Lumra, Bellow of the Woods}}{{Mythweaver Poq}}[/cards]
[card]Primeval Titan[/card] is your best tutor and pressure engine, grabbing two lands every swing. [card]Lumra, Bellow of the Woods[/card] and [card]Mythweaver Poq[/card] scale into huge bodies as your lands pile up.
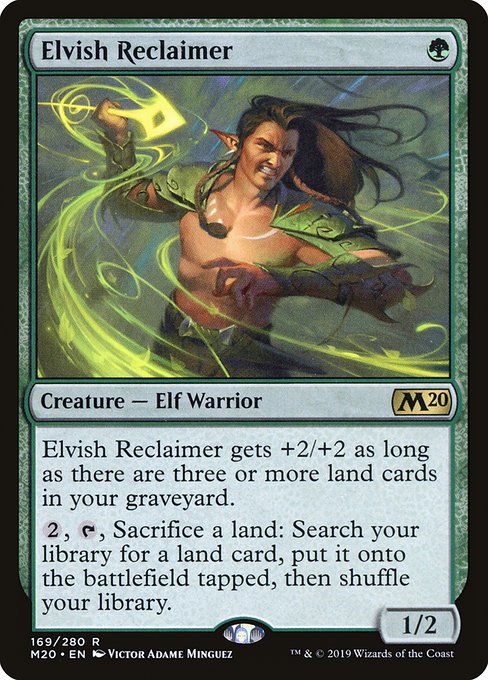
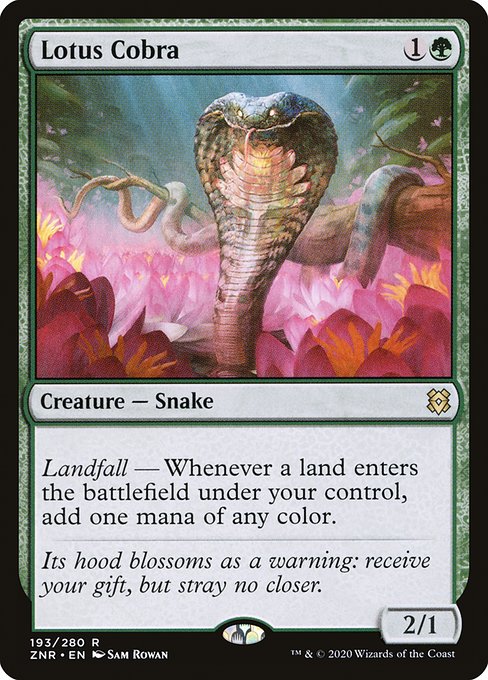
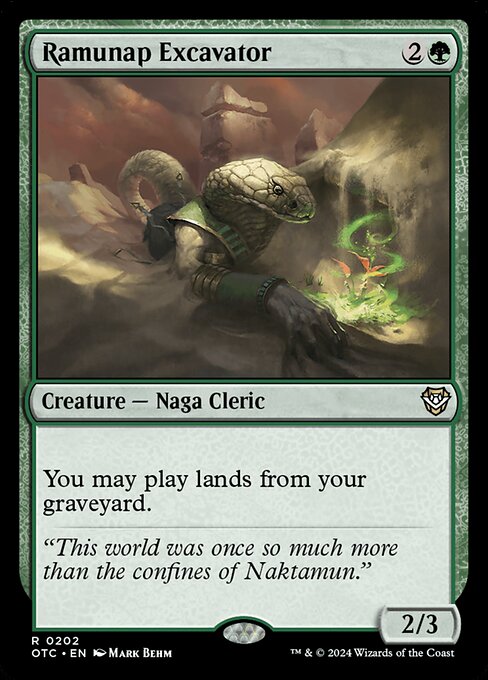
[cards]{{Lotus Cobra}}{{Nissa, Resurgent Animist}}{{Elvish Reclaimer}}{{Ramunap Excavator}}{{Icetill Explorer}}[/cards]
Value creatures like [card]Lotus Cobra[/card], [card]Nissa, Resurgent Animist[/card], and [card]Elvish Reclaimer[/card] make sure every land drop counts, while [card]Ramunap Excavator[/card] and [card]Icetill Explorer[/card] keep the lands flowing from the graveyard.
Soul of Windgrace Top Payoffs
This deck doesn’t just play lands for fun — your cards turn those lands into win conditions.
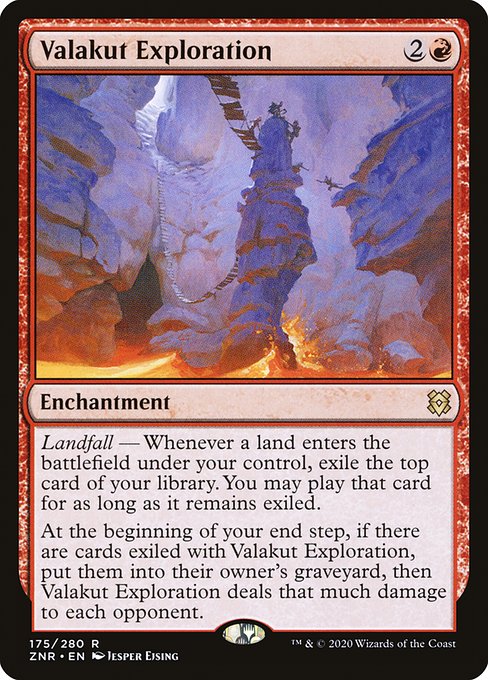
[cards]{{Valakut Exploration}}[/cards]
[card]Valakut Exploration[/card] burns opponents while drawing cards.
[cards]{{Valakut, the Molten Pinnacle}}[/cards]
[card]Valakut, the Molten Pinnacle[/card] turns Mountains into lightning bolts once you get enough in play.
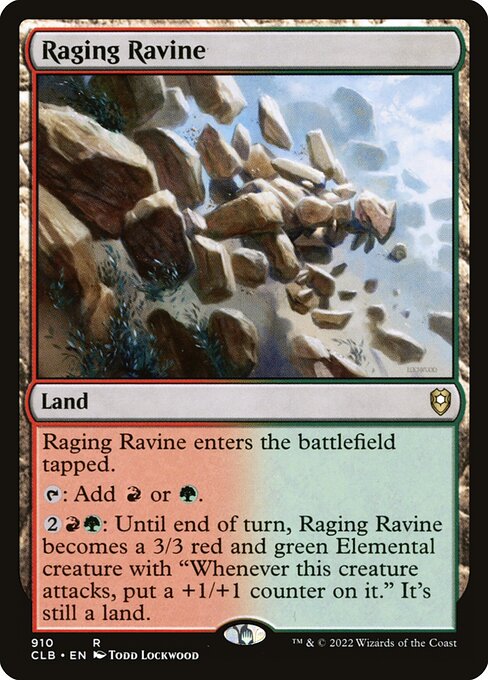
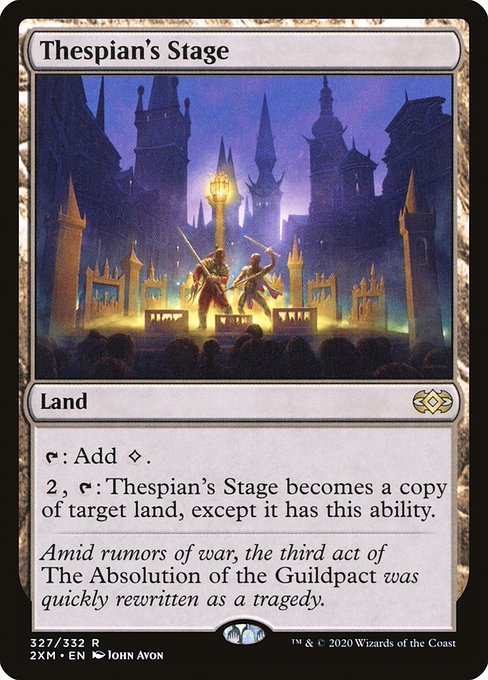
[cards]{{Raging Ravine}}{{Dark Depths}}{{Thespian's Stage}}[/cards]
Even utility lands like [card]Raging Ravine[/card] or [card]Dark Depths[/card] can finish games — especially when paired with [card]Thespian’s Stage[/card] for a quick 20/20 Marit Lage.
Giant land-powered beaters like [card]Lumra, Bellow of the Woods[/card] make closing the game simple.
Soul of Windgrace Must-Have Enablers
These are the engines that make the graveyard your best resource.
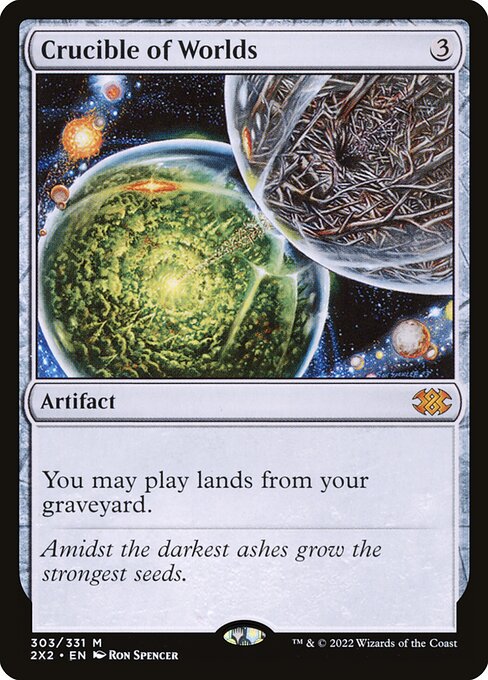
[cards]{{Crucible of Worlds}}{{Conduit of Worlds}}{{Walk-In Closet}}[/cards]
[card]Crucible of Worlds[/card], [card]Conduit of Worlds[/card], and [card]Walk-In Closet[/card] let you replay fetches every turn.
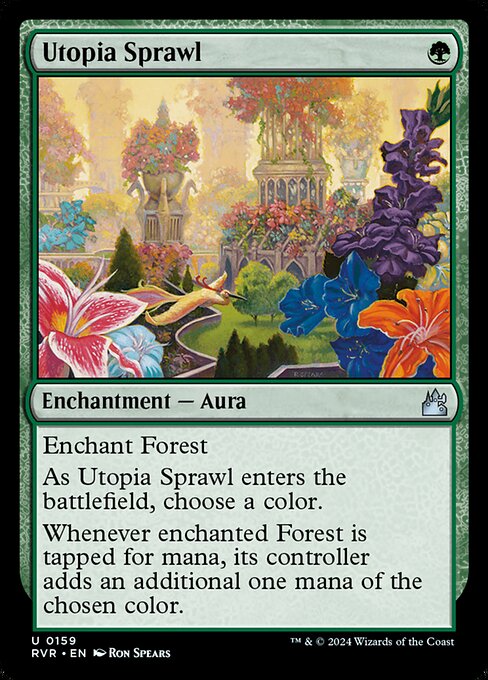
[cards]{{Exploration}}{{Utopia Sprawl}}{{Lotus Cobra}}[/cards]
Cheap ramp like [card]Exploration[/card], [card]Utopia Sprawl[/card], and [card]Lotus Cobra[/card] accelerate your early game.
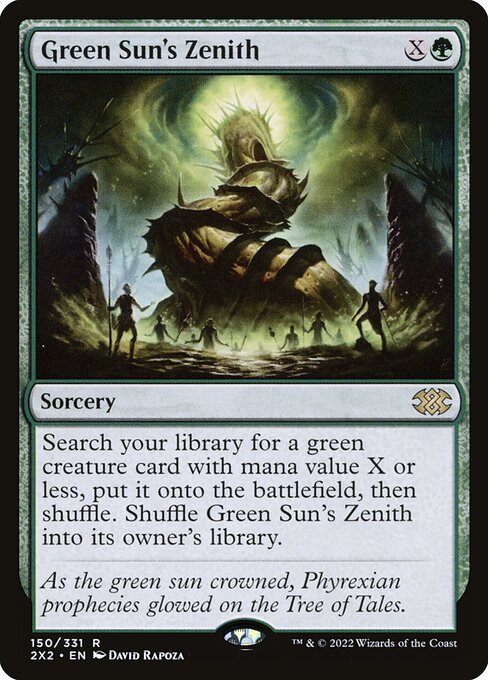
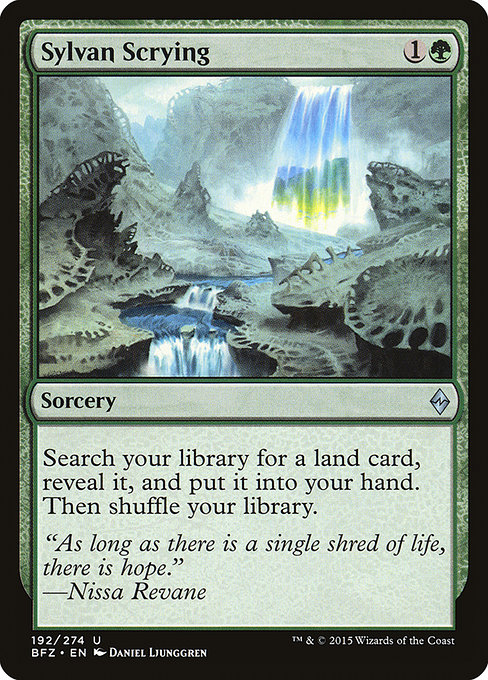
[cards]{{Crop Rotation}}{{Sylvan Scrying}}{{Green Sun's Zenith}}[/cards]
Tutors including [card]Crop Rotation[/card], [card]Sylvan Scrying[/card], and [card]Green Sun’s Zenith[/card] ensure the right land shows up at the perfect time.
Soul of Windgrace Key Interaction Spells
You aren’t just goldfishing — you control the board while ramping.
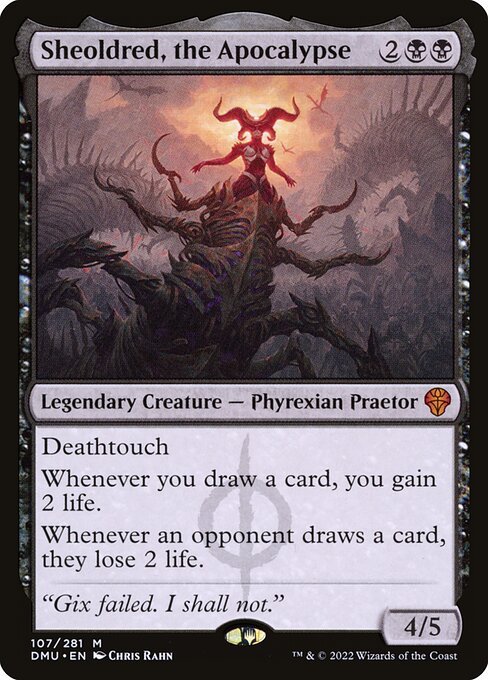
[cards]{{Sheoldred, the Apocalypse}}[/cards]
[card]Sheoldred, the Apocalypse[/card] punishes card draw strategies and stabilizes your life total.
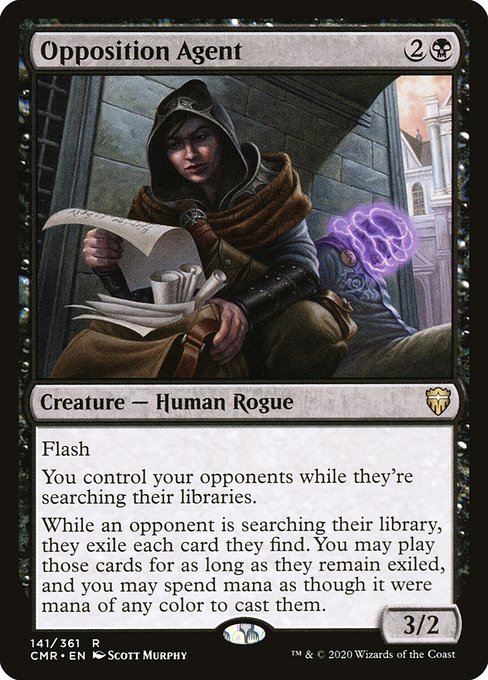
[cards]{{Opposition Agent}}[/cards]
[card]Opposition Agent[/card] steals tutors from greedy opponents.
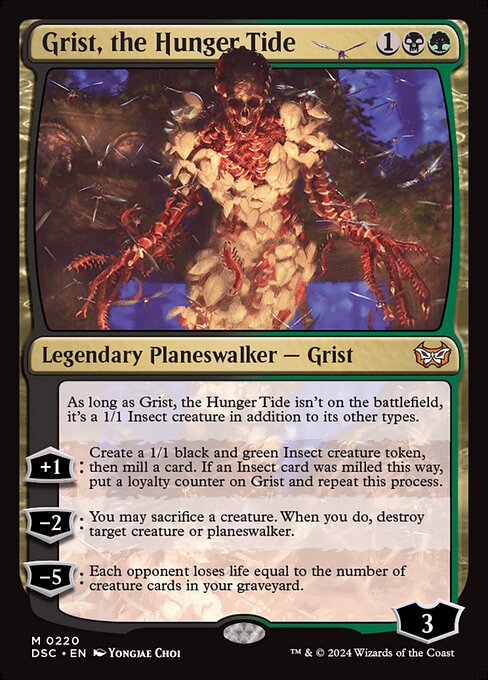
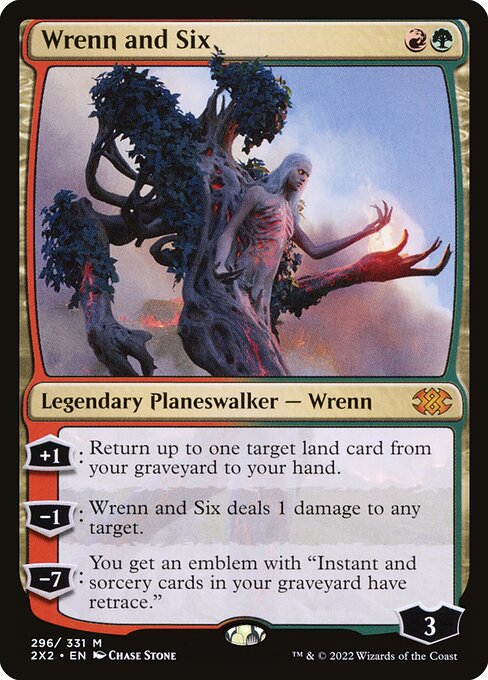
[cards]{{Grist, the Hunger Tide}}{{Wrenn and Six}}[/cards]
[card]Grist, the Hunger Tide[/card] and [card]Wrenn and Six[/card] offer removal while enabling the graveyard plan. All these cards buy time for your land engines to overtake the game.
Soul of Windgrace Best Removal
Efficient removal keeps aggro from running you over.
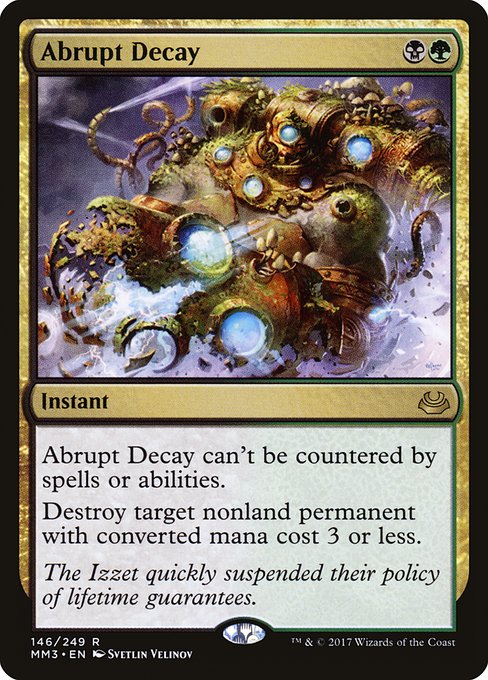
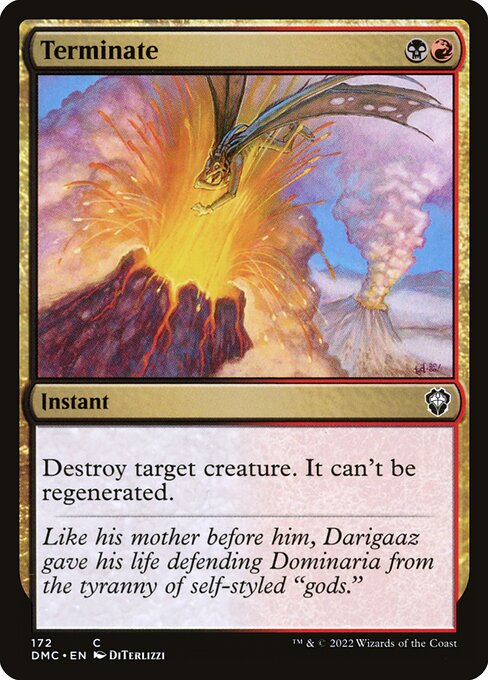
[cards]{{Abrupt Decay}}{{Terminate}}[/cards]
[card]Abrupt Decay[/card] and [card]Terminate[/card] clean up key threats.
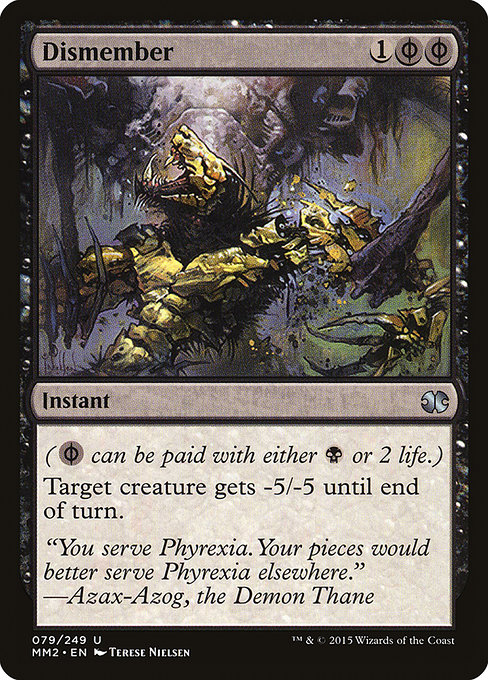
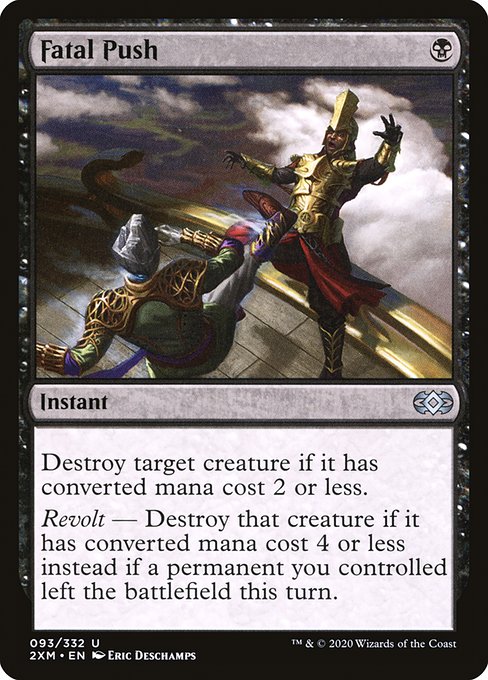
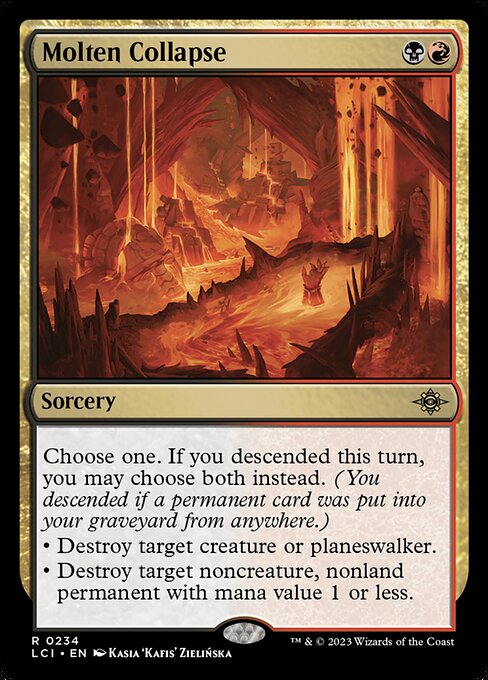
[cards]{{Fatal Push}}{{Molten Collapse}}{{Dismember}}[/cards]
[card]Fatal Push[/card] efficiently hits early plays, while [card]Molten Collapse[/card] or [card]Dismember[/card] handle mid-game creatures.
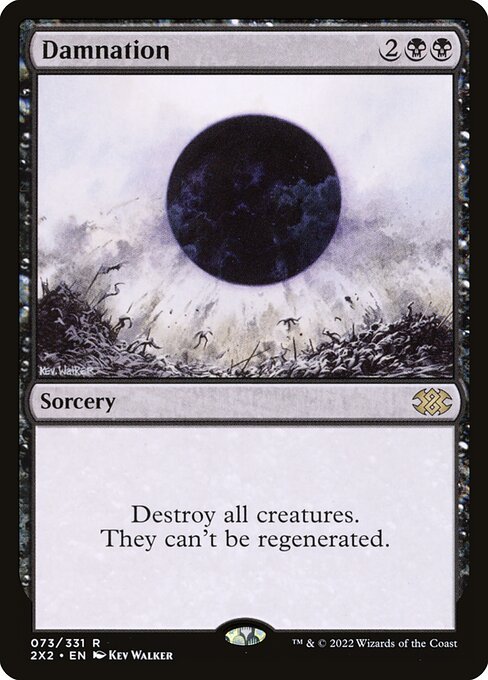
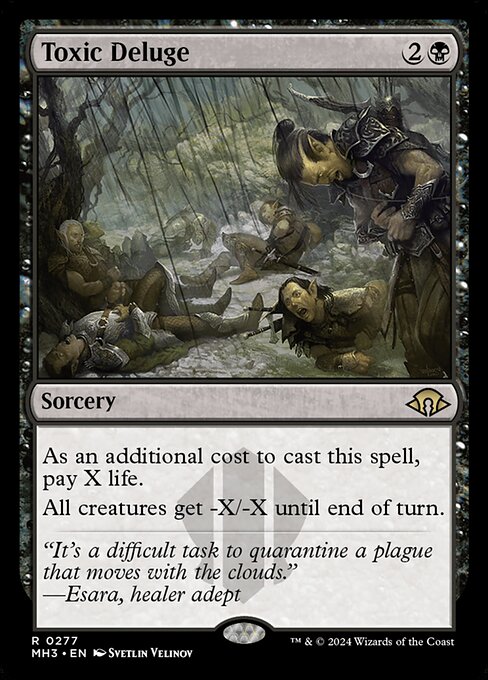
[cards]{{Damnation}}{{Toxic Deluge}}[/cards]
When things get messy, sweepers like [card]Damnation[/card] and [card]Toxic Deluge[/card] reset the board so Windgrace can rebuild faster than anyone else.
The Perfect Soul of Windgrace Manabase
Your lands are your engine — they fix your mana, fuel your commander, and ultimately help win the game.
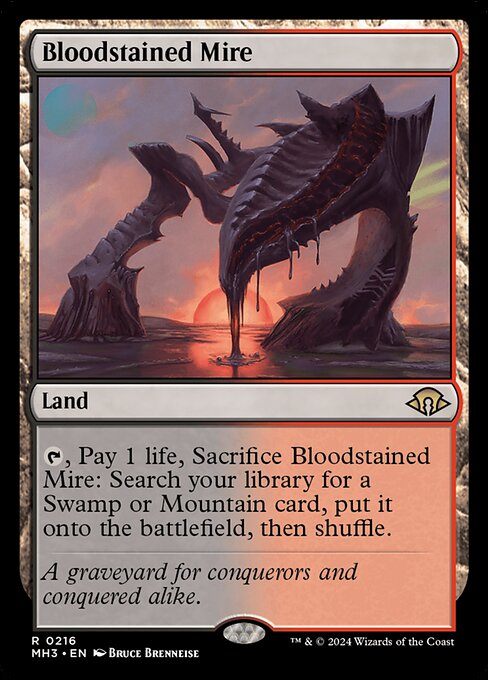
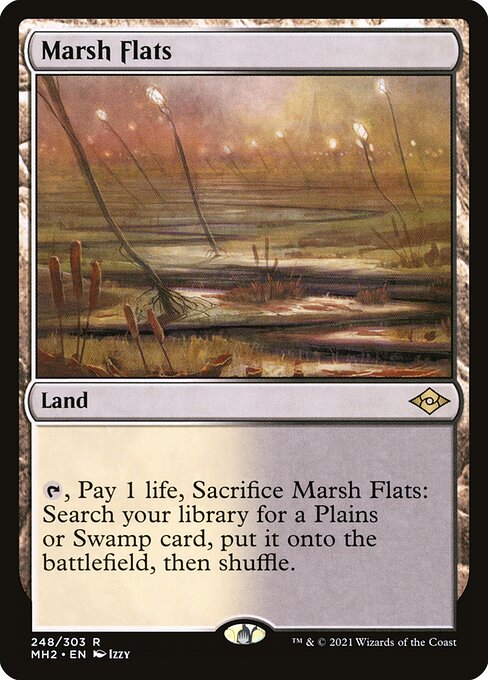
[cards]{{Bloodstained Mire}}{{Stomping Ground}}[/cards]
Fetchlands like [card]Bloodstained Mire[/card] and shock lands such as [card]Stomping Ground[/card] are the backbone of your fixing, constantly hitting and re-hitting the battlefield thanks to Windgrace recursion.
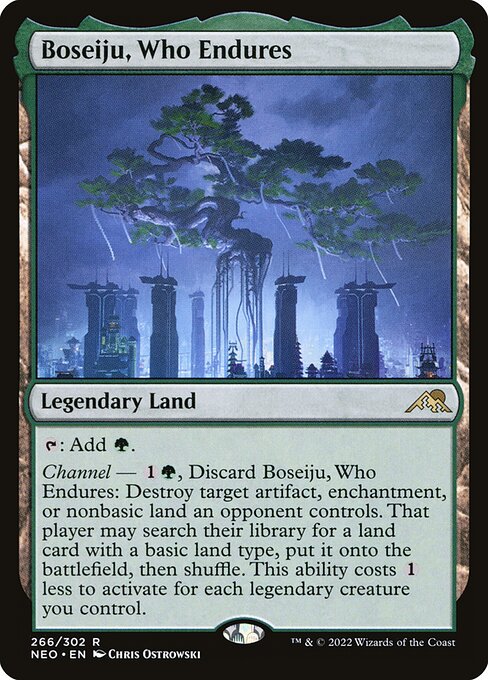
[cards]{{Boseiju, Who Endures}}[/cards]
Legendary tools like [card]Boseiju, Who Endures[/card] double as premium interaction when you need to break apart opposing engines.
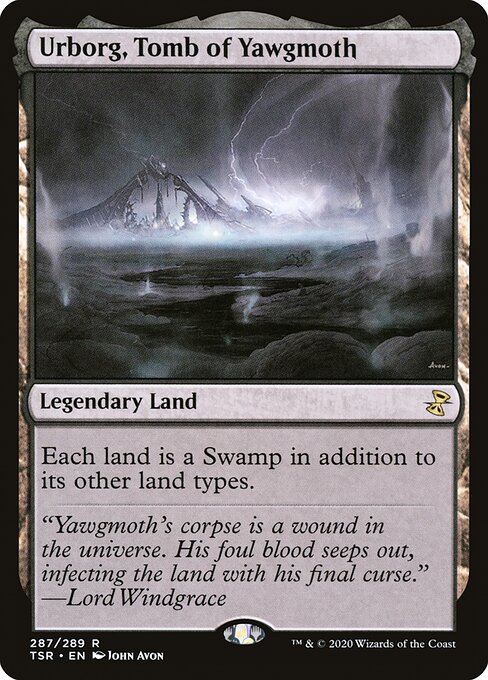
[cards]{{Urborg, Tomb of Yawgmoth}}{{Yavimaya, Cradle of Growth}}{{Command Tower}}[/cards]
Smooth mana is key in Jund, and lands like [card]Urborg, Tomb of Yawgmoth[/card] and [card]Yavimaya, Cradle of Growth[/card] turn every other land into a Swamp or Forest so you never get stuck on colors. [card]Command Tower[/card] remains the perfect auto-include.
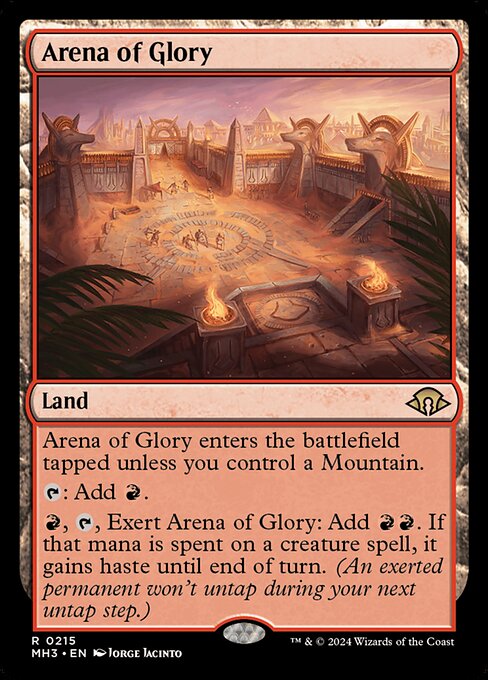
[cards]{{Arena of Glory}}{{A-Soul of Windgrace}}[/cards]
The real spice is in your utility lands — they play like spells while fueling your strategy. [card]Arena of Glory[/card] can exert to give haste for creatures, which is great on its own, but the bigger interaction is with [card]A-Soul of Windgrace[/card]. With Arena you can effectively bring two lands the turn [card]A-Soul of Windgrace[/card] enters the battlefield as it can inmediately attack, potentially bringing back multiple lands per turn while still gaining value.
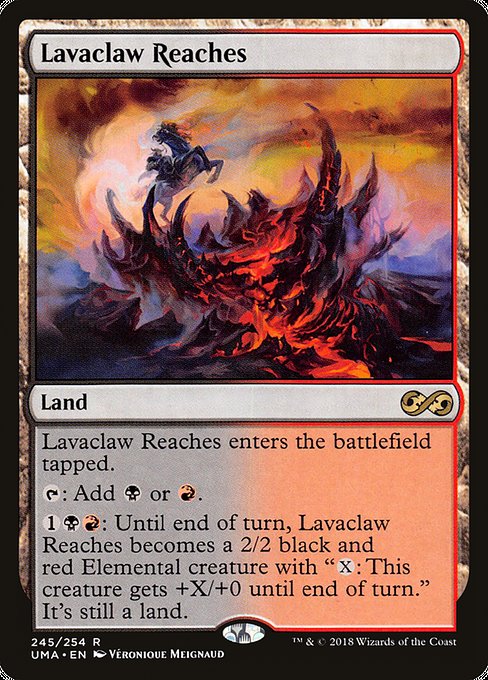
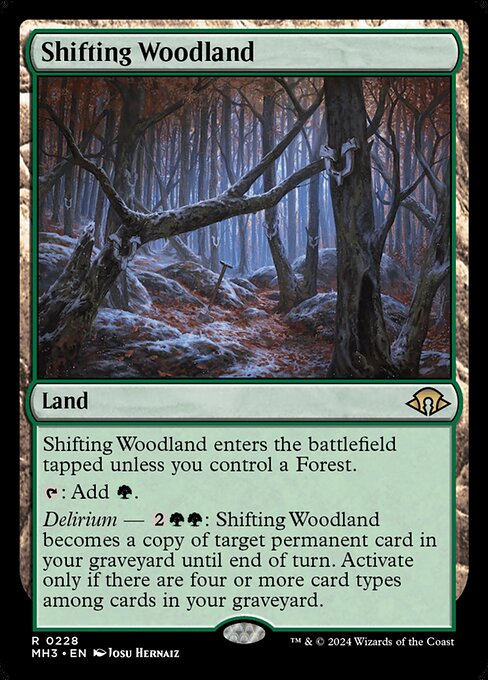
[cards]{{Dust Bowl}}{{Raging Ravine}}{{Lavaclaw Reaches}}{{Shifting Woodland}}[/cards]
Other role-players like [card]Dust Bowl[/card] let you punish greedy manabases by converting excess lands into disruption. Creature-lands such as [card]Raging Ravine[/card] or [card]Lavaclaw Reaches[/card] become threats when needed, and [card]Shifting Woodland[/card] can temporarily copy a key permanent from your graveyard — often something game-ending.
How to Play with Soul of Windgrace in Historic Brawl - Strategy Guide
The overall game plan with [card]A-Soul of Windgrace[/card] is to use lands as your primary resource to generate overwhelming advantage. By discarding, milling, and cracking fetches, your graveyard becomes a second hand full of ramp, removal options, and eventually win conditions. Windgrace ensures you consistently hit land drops, while cards like
[cards]{{Crucible of Worlds}}{{Conduit of Worlds}}[/cards]
[card]Crucible of Worlds[/card] and [card]Conduit of Worlds[/card] let you keep looping them from the graveyard. From there, you pivot into one of your two main finishers — either burning your opponent out with landfall triggers or summoning a massive flying Avatar that ends the game in one swing.
Valakut Landfall Burn
One of the strongest paths to victory comes from turning every land you play into a burn spell.
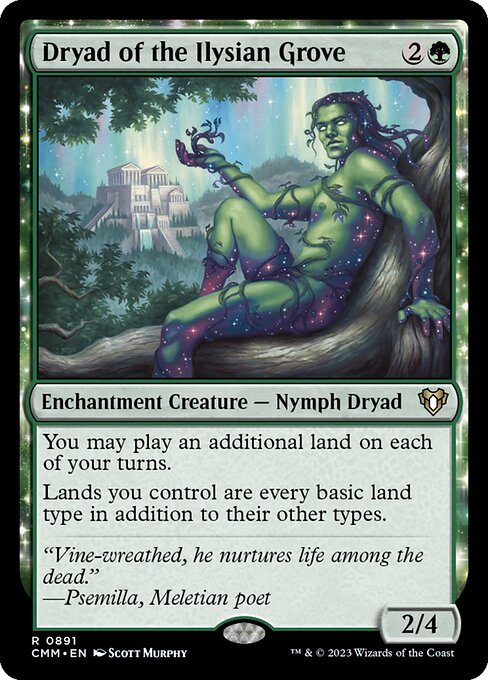
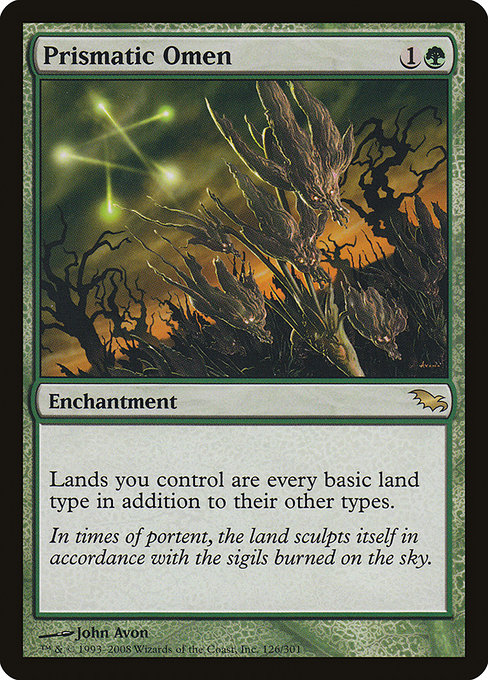
[cards]{{Valakut, the Molten Pinnacle}}{{Dryad of the Ilysian Grove}}{{Prismatic Omen}}[/cards]
[card]Valakut, the Molten Pinnacle[/card] already threatens 3 damage per Mountain entering the battlefield, but things get absurd once [card]Dryad of the Ilysian Grove[/card] or [card]Prismatic Omen[/card] are in play, because suddenly all of your lands count as Mountains. That means fetchlands become direct damage machines — sometimes firing multiple pings at once.
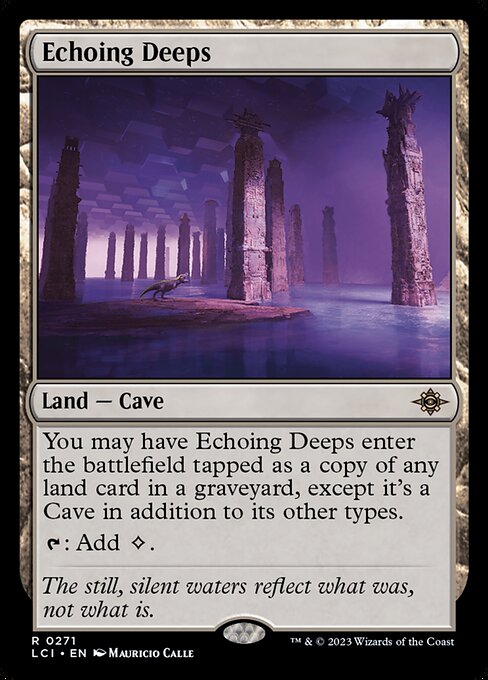
[cards]{{Thespian's Stage}}{{Echoing Deeps}}[/cards]
It gets better: [card]Thespian’s Stage[/card] can copy Valakut because it isn’t legendary, doubling or even tripling those triggers. You can even use [card]Echoing Deeps[/card] to copy Valakut from the graveyard, then bring the original back with Windgrace recursion, [card]Crucible of Worlds[/card], or [card]Walk-In Closet[/card]. With enough lands entering, opponents simply melt under the pressure.
Dark Depths Combo Finish
Your other primary win condition is the classic two-card combo: [card]Dark Depths[/card] plus [card]Thespian’s Stage[/card].
[cards]{{Dark Depths}}{{Thespian's Stage}}{{Crop Rotation}}[/cards]
Once Stage copies Depths, the copy has no ice counters, and you immediately sacrifice it, creating Marit Lage — a 20/20 black flying indestructible token that ends games very quickly. Thanks to tutors like [card]Crop Rotation[/card], you can assemble this combo for a surprise win. Even if your opponent removes the token, the deck’s land recursion means you can rebuild and threaten the same line again. Many players simply concede when they see the Stage targeting Depths, because there’s rarely a clean answer that doesn’t cost them the game.
Soul of Windgrace Historic Brawl Combos and Interactions
Even beyond the major win conditions outlined above, this deck includes several small but devastating synergies that consistently swing the game in your favor.
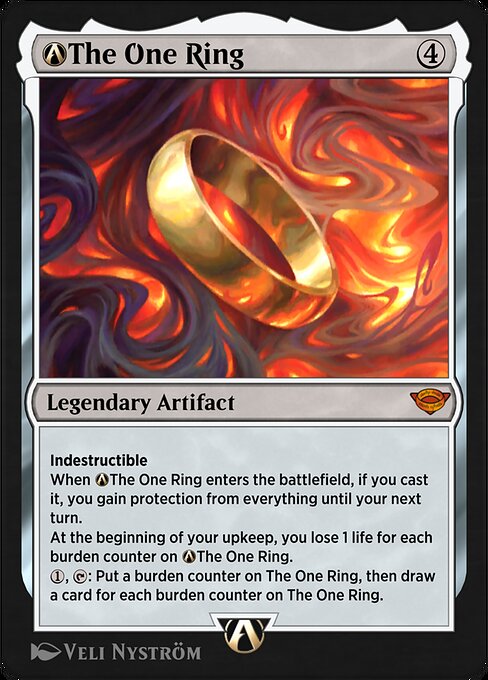
[cards]{{Sheoldred, the Apocalypse}}{{A-The One Ring}}[/cards]
One of the most impactful pairs is [card]Sheoldred, the Apocalypse[/card] alongside [card]A-The One Ring[/card]. The Ring draws multiple cards each turn, and Sheoldred turns every single one into life gain for you and damage for the opponent — a brutal way to stabilize or close games without ever attacking.
[card]A-Soul of Windgrace[/card] also creates incremental advantages through its discard abilities. Pitching a land not only triggers Windgrace’s benefits, but it can also fuel Sheoldred’s gain life effects when you later draw cards off the red activation.
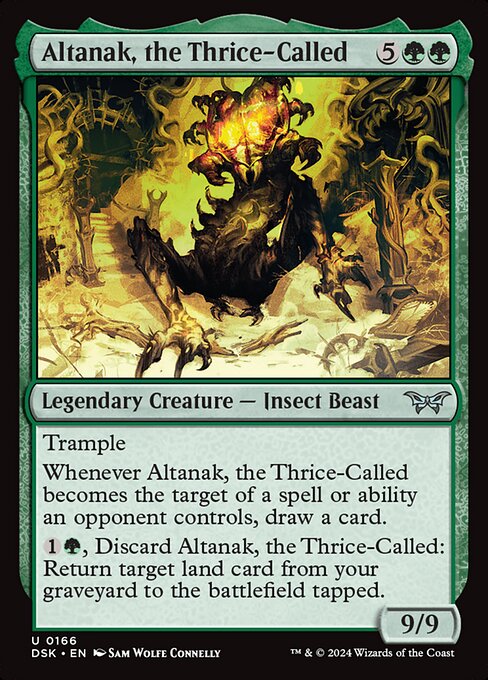
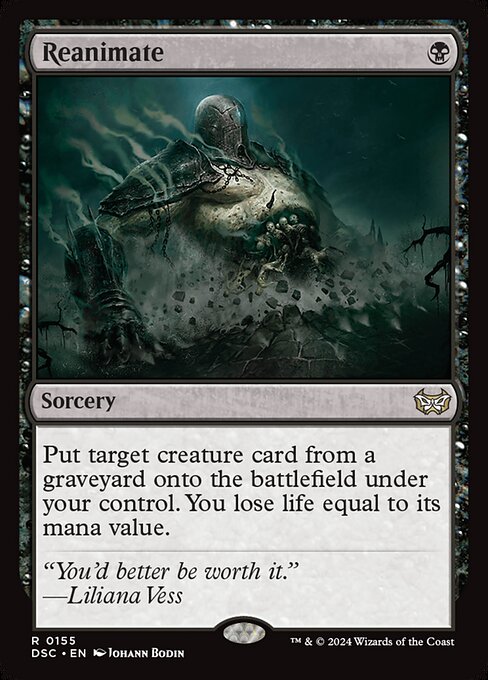
[cards]{{Altanak, the Thrice-Called}}{{Reanimate}}[/cards]
Similarly, discarding [card]Altanak, the Thrice-Called[/card] lets you immediately return a land to the battlefield, and then you can follow up with [card]Reanimate[/card] to cheat a massive trampling threat into play far earlier than your opponent expects.
These interactions don’t replace the main combos — they reinforce the deck’s identity as a value-driven, land-based engine. Even when you aren’t assembling Marit Lage or firing off Valakut triggers, Windgrace always has another angle to generate overwhelming advantage.
How does Soul of Windgrace keep up with aggressive decks on MTG Arena?
Early-game spot removal is key. Cards like [card]Fatal Push[/card], [card]Abrupt Decay[/card], and [card]Dismember[/card] stop fast creatures before they snowball. On top of that, [card]Damnation[/card] and [card]Toxic Deluge[/card] give you total board resets. Once the battlefield is clear, Windgrace rebuilds faster than nearly any other commander thanks to graveyard recursion and extra land drops.
Can the Soul of Windgrace deck still win without combos in Historic Brawl?
Definitely. [card]A-Soul of Windgrace[/card] isn’t a commander that folds if you don’t assemble Valakut or Marit Lage. At its core, this is a land value–oriented deck built to play a longer game. Your lands generate card advantage, board presence, and resource loops that most opponents simply can’t match over time. Even without combos, your land count climbs into double digits, turning cards like [card]Mythweaver Poq[/card] and [card]Lumra, Bellow of the Woods[/card] into massive finishers that close out games through combat. Because you control the board and keep drawing more cards as the match goes on, you naturally pull ahead — giving you a reliable Plan B that many combo decks just don’t have.
What happens if opponents attack the graveyard?
Even if the graveyard plan gets disrupted, this deck still plays strong midrange. Huge threats like [card]Primeval Titan[/card], [card]Lumra, Bellow of the Woods[/card], and [card]Mythweaver Poq[/card] win through raw board power. Plus, your utility lands like [card]Dust Bowl[/card], [card]Raging Ravine[/card], and [card]Valakut, the Molten Pinnacle[/card] don’t rely on the graveyard at all — so removal that targets your recursion only delays the inevitable.
Is Soul of Windgrace the best Jund commander in Historic Brawl?
While [card]A-Soul of Windgrace[/card] has grown into a powerful Historic Brawl commander — especially after cards like [card]Valakut, the Molten Pinnacle[/card] and [card]Dark Depths[/card] became legal — it’s not quite the #1 Jund option on MTG Arena. That honor more likely goes to [card]Slimefoot and Squee[/card], whose aggressive pressure, recursive gameplay, and sacrifice synergies make them extremely hard to contain. Still, Windgrace sits comfortably near the very top thanks to its land recursion engine, inevitability, and flexible win conditions. If you enjoy long-game value and land-based combos, Windgrace is arguably the best Jund commander for that playstyle in Historic Brawl.
What’s the ideal land count and fetch-land inclusion for Soul of Windgrace builds?
With [card]A-Soul of Windgrace[/card], you definitely want a high land count. Forty lands is the bare minimum, but aiming closer to 43 gives the deck the consistency it needs, especially since you’ll often be discarding and milling lands as part of your game plan. MDFCs that can be played as lands are a great option if you feel you need even more mana sources without sacrificing card quality. Just remember that these cards in the graveyard can't be returned with the likes of [card]Lumra, Bellow of the Woods[/card] or your Commander. Fetchlands in particular are incredibly valuable here, since you can replay them from the graveyard for repeated value and landfall triggers.
Wrap Up
Even though the [card]Strip Mine[/card] ban may have “hurt” the deck a bit, it also brought exciting new finishers that are actually fun to play against — or at least won’t make your opponents scoop on the spot.
Thanks for reading! If you enjoyed this guide, be sure to check out the rest of my Historic Brawl deck techs here on the site. Take care, and we’ll meet again in the next article!
.jpg)

.jpg)
.jpg)
.png)
.webp)
.png)
.webp)
.jpg)
Comments
Post a Comment